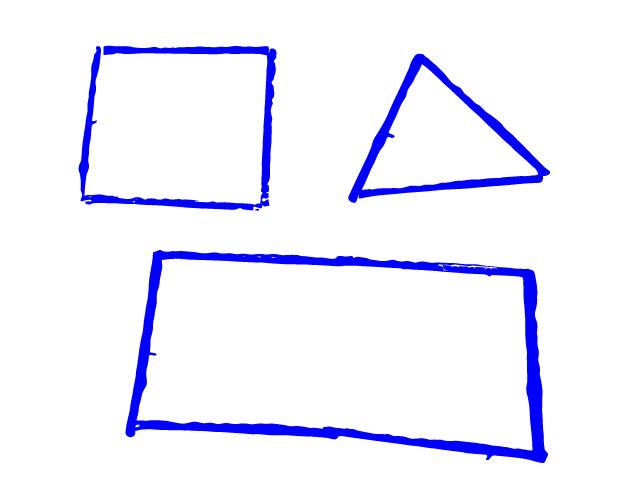
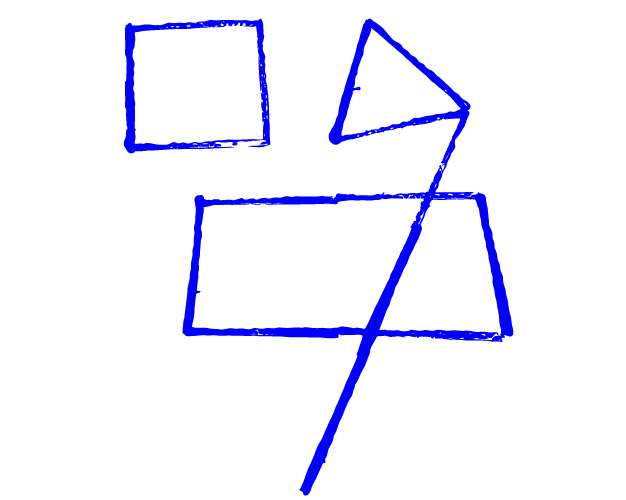
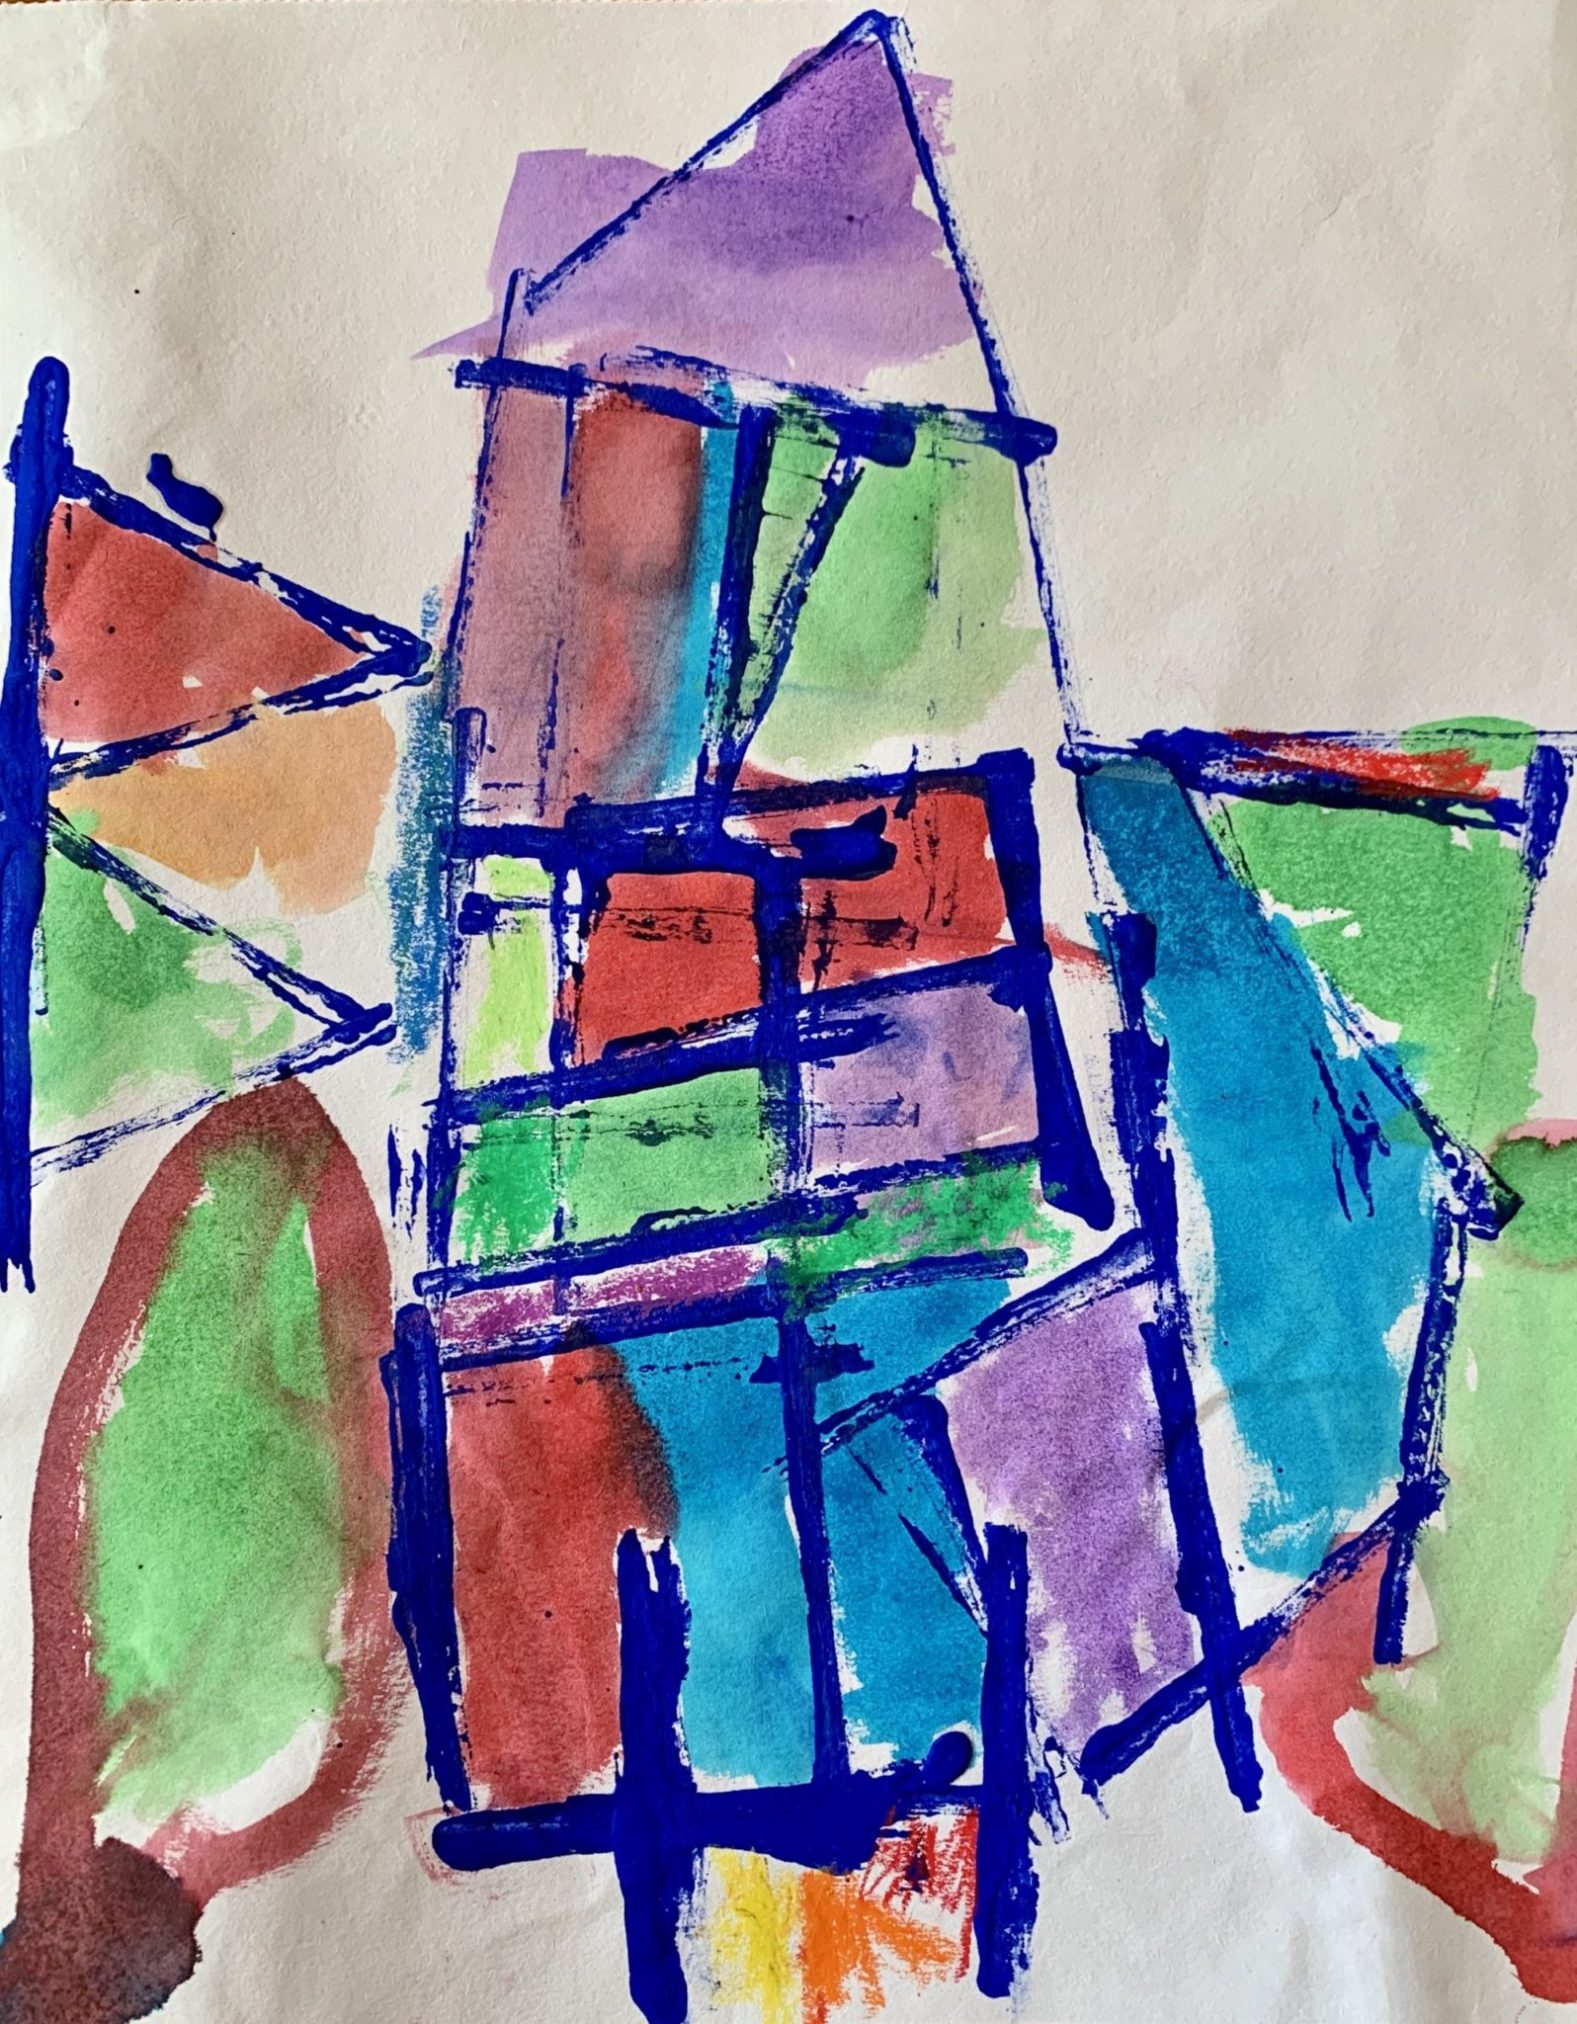
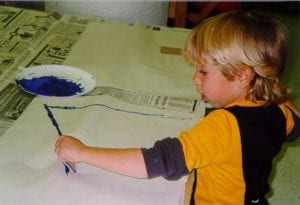
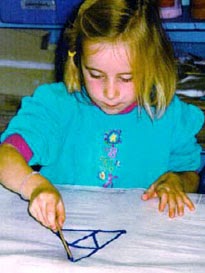
Learning to print shapes opens up the world of geometry and construction. Explorers of any age develop their own strategies and gain respect for the ideas of their peers when they work together to explore multiple solutions to the problem of how to use a line stamp to create a shape.
Construct Shapes
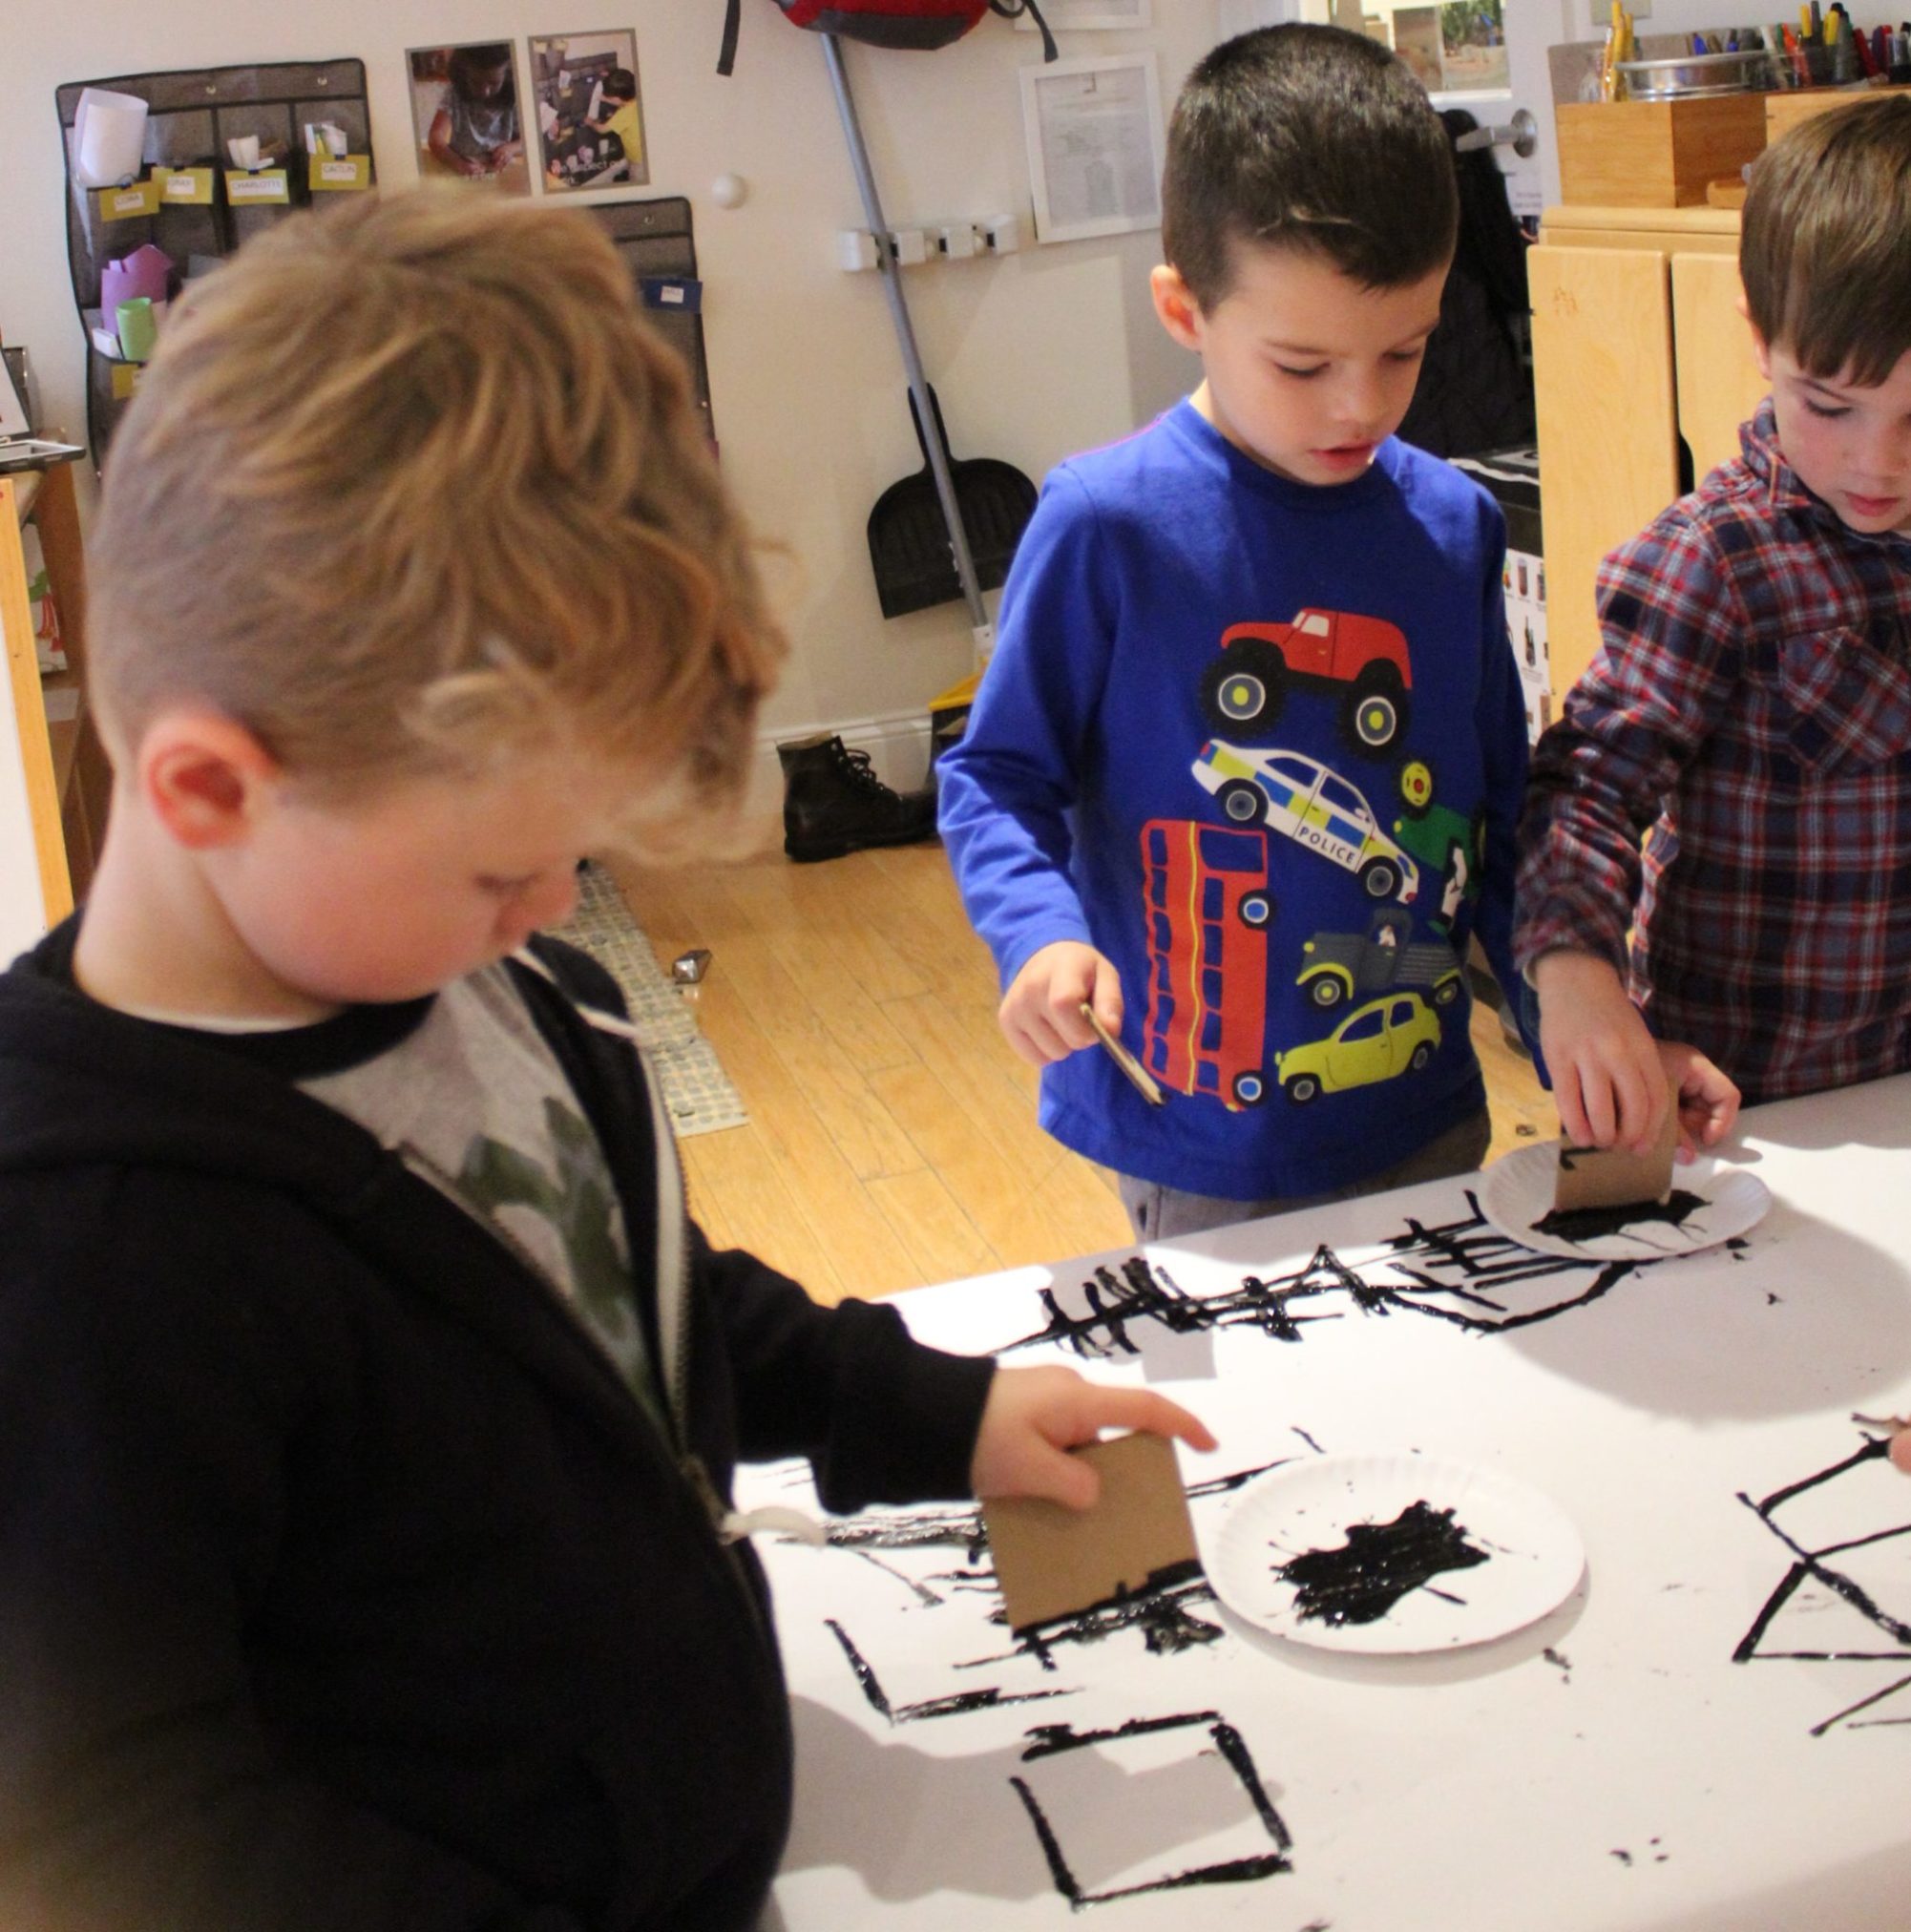
Three year-olds print shapes.
When constructing shapes, children develop and practice:
- hand orientation and spatial awareness
- placement and printing skills
- constructing a variety of geometric shapes
- seeing and discovering shapes in the environment
- integrating a variety of line, shape, and design elements to express ideas
- using proper vocabulary to describe shapes and their attributes
- multiple ways to solve a problem
horizontal
vertical
diagonal
square
triangle
rectangle
Materials
- Large straight-line stamps, one per student (extras in reserve)
- Small straight-line stamps, one per student (in reserve)
- 12 x 18” (30 x 46 cm) paper – one per student, or mural paper
- A squeeze bottle of tempera paint for easily distributing paint
- Small trays or coated paper plates to hold paint – enough for two children to share easily
- A tray with paint, a large straight line tool, and paper for teacher demonstration
Set-up
- Place papers in such a way that everyone has a space to work.
- Place one large straight line tool at each child’s place.
- Keep trays and paint in reserve – or put out trays without paint to begin
Ask children to be shape detectives by looking around them to see what shapes they can find. Identify squares, rectangles, triangles, circles
You might also have pictures (where shapes are clearly seen) available for discovering shapes.
You Might Ask:
How might you make these shapes with the straight-line tool?
Pretending your hand is a straight- line tool, can you show me how you might make some of these shapes?
Show the straight line printing tool, review how to hold it.
Discuss how the process of printing gives you the ability to make more than one of the same thing – in this case – a line!
Any time you begin printing, it helps to practice first without paint*. Demonstrate using the line stamp to print a shape, taking time to figure out the placement of each line. You might ask the children to help. Let them know they will begin by doing a little practicing and planning when they get to their work spaces.
Then dip your line stamp into paint, carefully lifting the stamp, and press it onto paper to create a line. Continue printing lines until you have a shape. Follow the children’s suggestions for where to go next as you construct a shape. Suggest that one dip into the paint may be enough to print several lines.
Review guidelines for resting the line stamp on the side of your tray – paint side down when you need to stop. Show how easy it is to pick the line stamp up without getting paint on your hands!
*A few moments spent practicing without actually printing can save a lot of time, paper, and frustration! It helps children focus and try out possibilities so that they are ready to begin when they get their trays of paint.
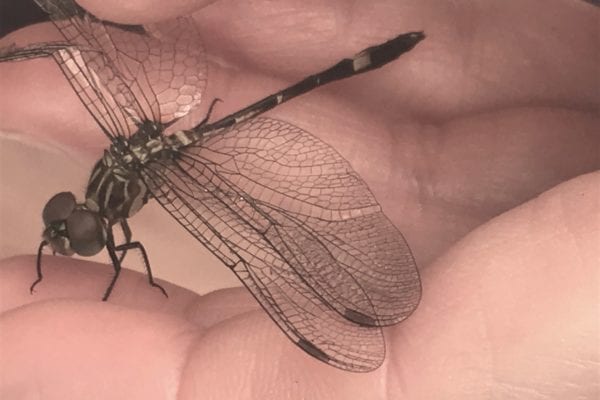
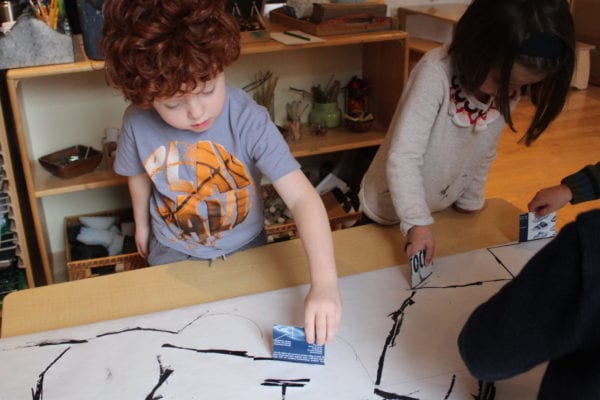
The children in the image below looked at the line structure of butterfly and dragonfly wings before they began working together to create giant wings for their flying cart.
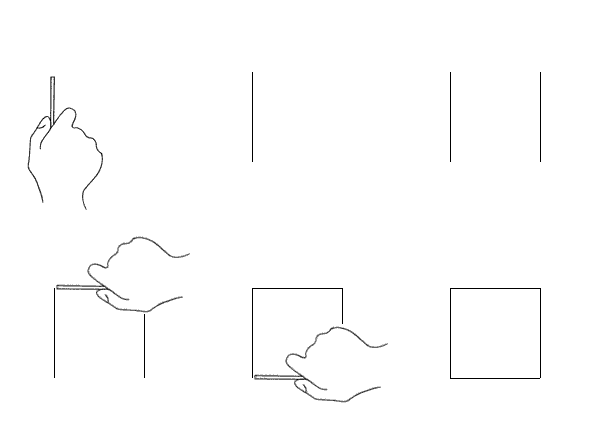
Method #1:
Print two vertical lines that are parallel.
Print two horizontal lines to connect.
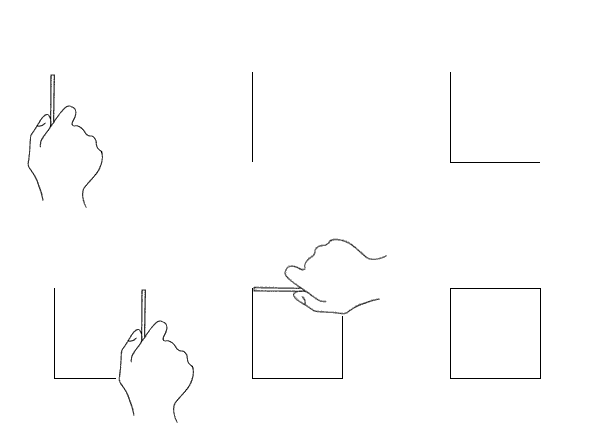
Method #2:
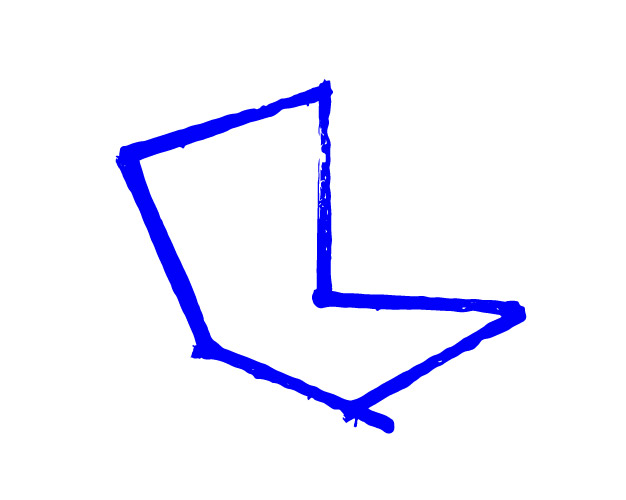
Print a vertical and horizontal line to form a right angle.
Connect with a vertical and a horizontal line.
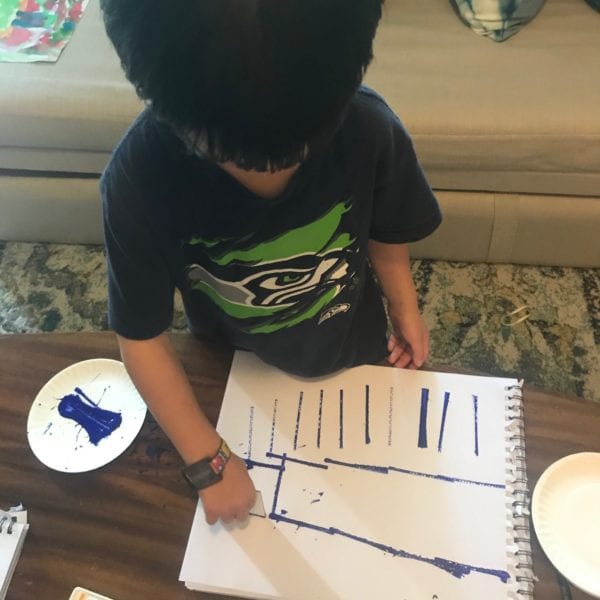
by Ari, age 4
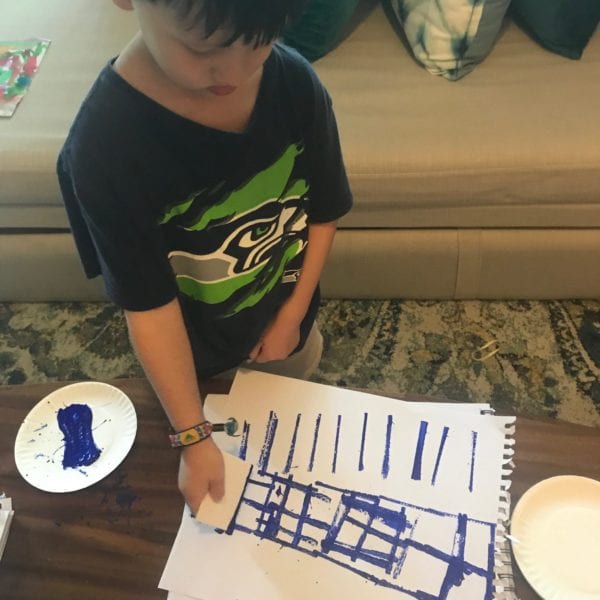
Ari adding more shapes to his work
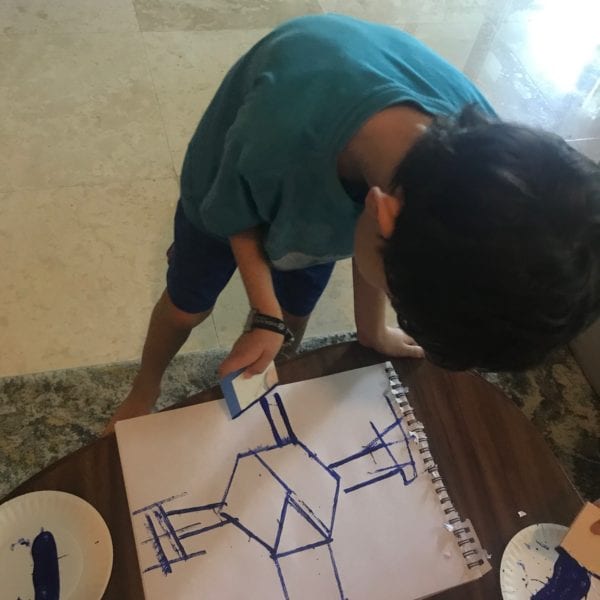
by Ender, age 7
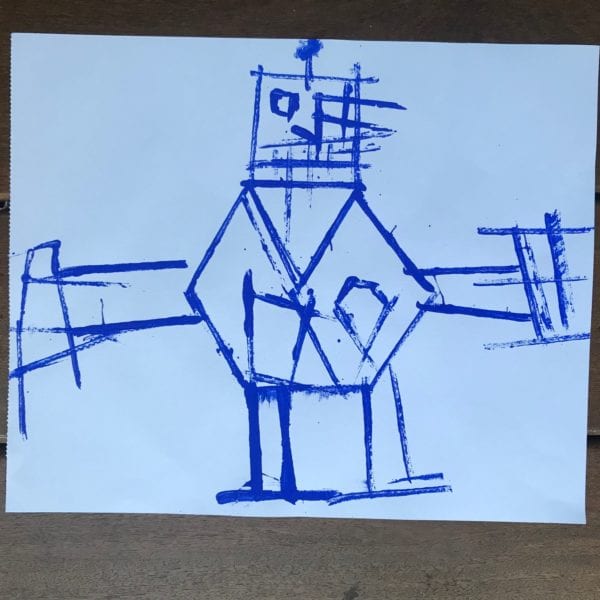
Ender’s Shape Bot
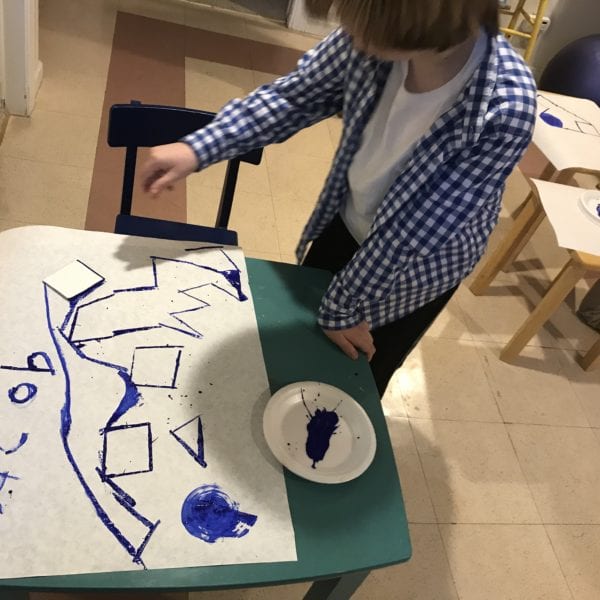
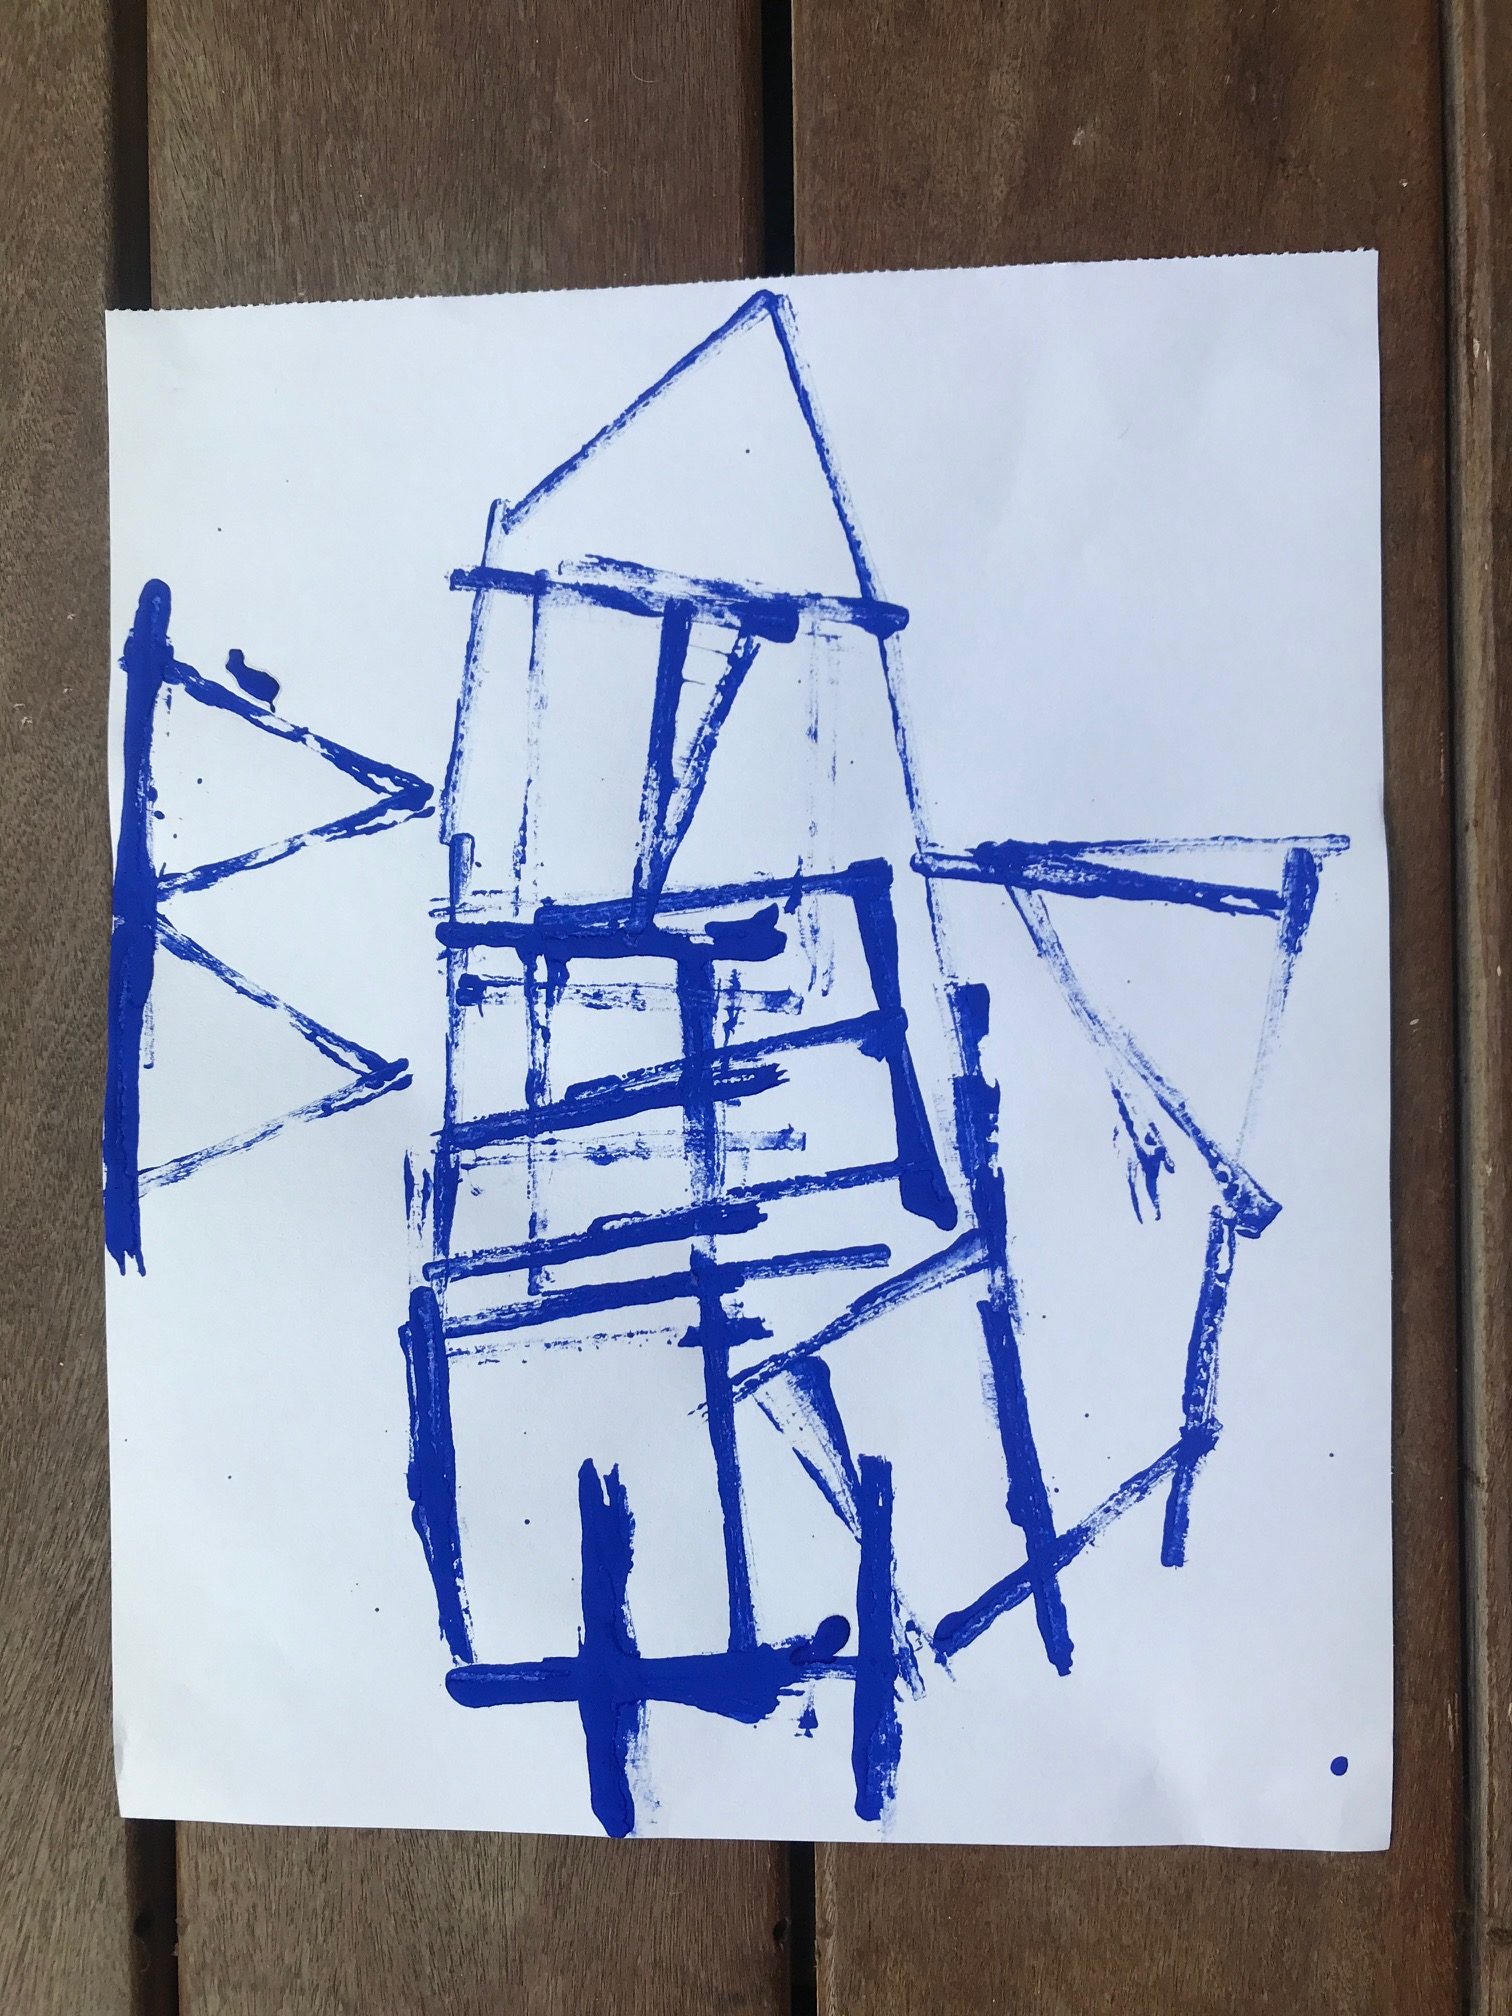
by Jacob, age 9
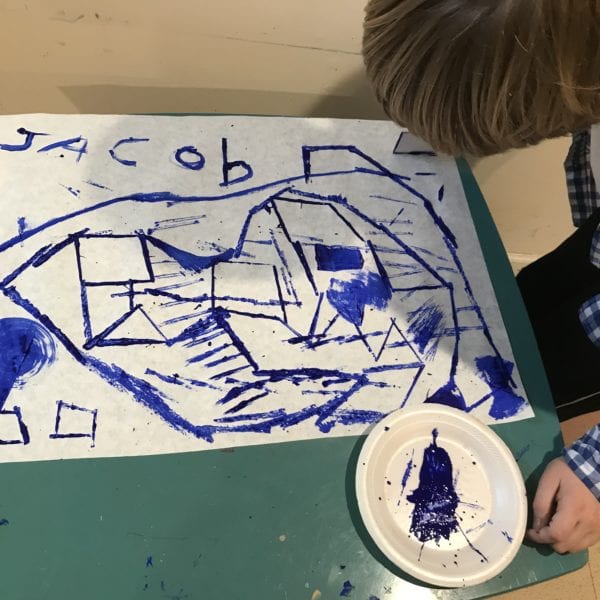
Jacob’s shapes turn into a cargo ship as he continues printing
Using only the large straight line tool (but no paint!) have students practice printing shapes. When you see that children get the idea, hand out trays of paint for printing.
Reinforce the idea of trying more than one shape.
Remind students to print connecting lines and notice what happens.
If students are working as a group, help them to be respectful of the work of classmates by setting guidelines, such as respecting the work of their classmates, and asking before connecting to a neighbor’s prints.
Remind children to look for the open spaces on their papers for additional printing.
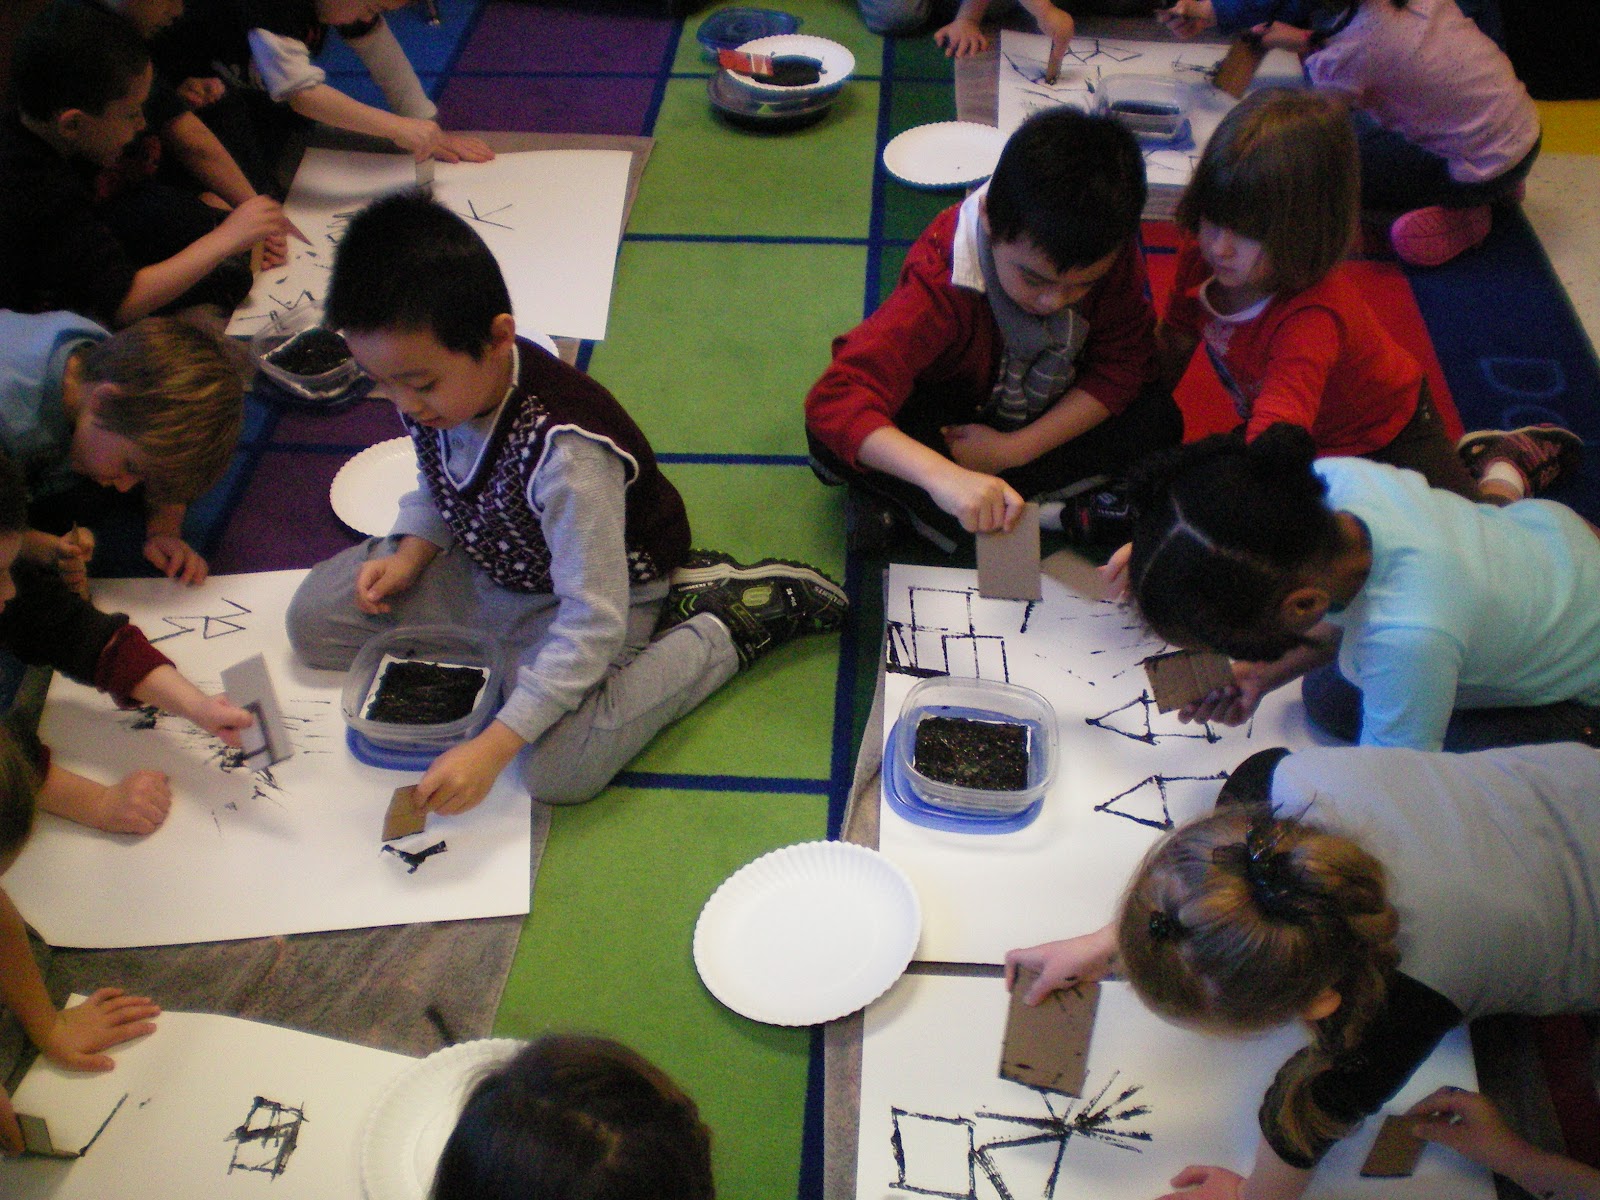
*If children complete the above, or papers seem to be filling up, or attention seems to lag, offer small line tools for constructing smaller shapes, connecting smaller areas, and printing details inside and around other shapes.
*If you decide to introduce the small line stamps, call attention to using the small side of the line stamp which is 1/2 the size of the large line tool.
This exercise (or game) encourages experimentation with shapes and space. It generates unusual shapes while also encouraging continued exploration.
Procedure: (Demonstrate while discussing)
Start at the edge of your paper.
Print a line
Each additional line must:
- Connect to the last line, or
- Connect to another line, or
- Touch an edge of the paper
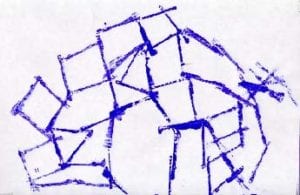
The physical act of constructing shapes and other forms with printed lines makes it easy and natural to transfer that ability to drawing, writing and painting.
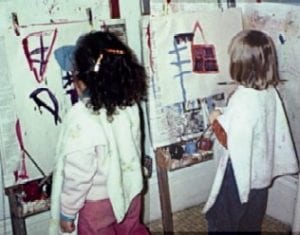
Jessie age 4 & Neile age 4
When these friends finished printing, they decided to go to work at the easel. While observing them, I realized that the act of printing lines and shapes can transfer to other media when those media are available.
Make a set of shape cards on the back of blank index cards.

Directions: Hand out a shape card to each explorer or to pairs of explorers. Have them use the shape card to look for shapes in the built and natural environment. Look up… Look down… Look all around. What shapes can you find?


