Line printing supplies are simple, low cost and easy to make. All you need is cardboard, paint and paper.
Watch Cathy show you how to make your own straight line printing stamps.
Line printing supplies are simple, low cost and easy to make. All you need is cardboard, paint and paper.
Watch Cathy show you how to make your own straight line printing stamps.
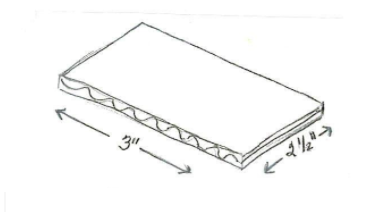
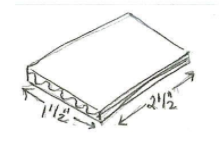
Cardboard line stamps cut from corrugated cardboard boxes, heavy duty cardboard or matt board are used in all the activities on this website. And all you need to begin are the two straight-line stamps. After experimenting with many different sizes of cardboard stamps I have found the dimensions shown below to work the best.
1. Large Straight Line Stamp: 3”x 2 ½” (8 x 6 cm)
2. Small Straight Line Stamp:1 ½” x 2 ½” (4 x 6 cm)
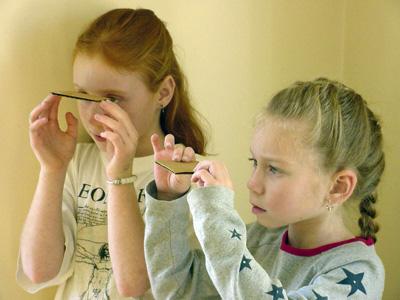
Use the longer side of the cardboard, the side with the wavy line that you can see through, for printing. It is not that you cannot use the other side, but it is not as strong, and it tends to bend and collapse.
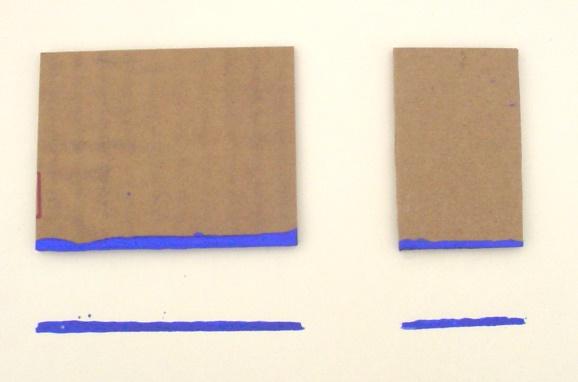
See the difference in size between the two line tools. The line printing tools are proportional. The smaller stamp is half the size of the larger stamp.
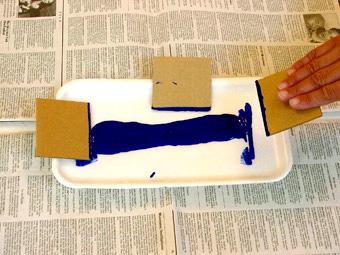
You can see the 4 steps of the line printing process below.
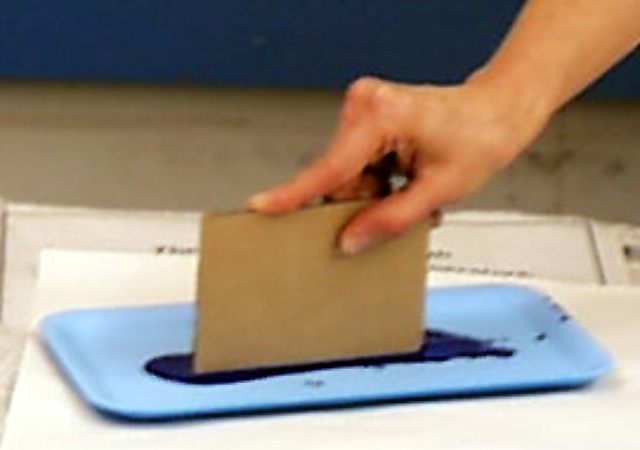
Dip
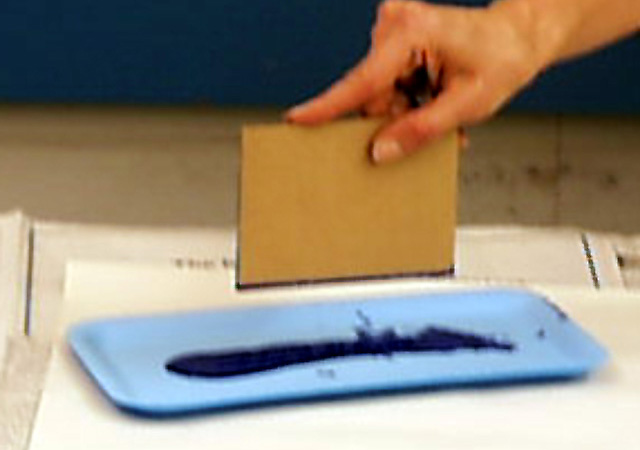
Lift
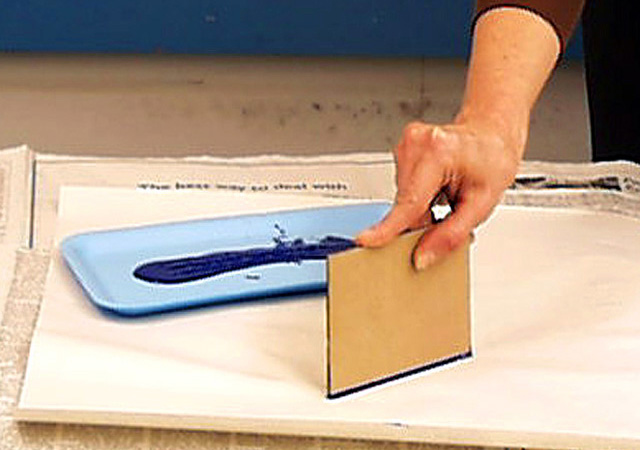
Press
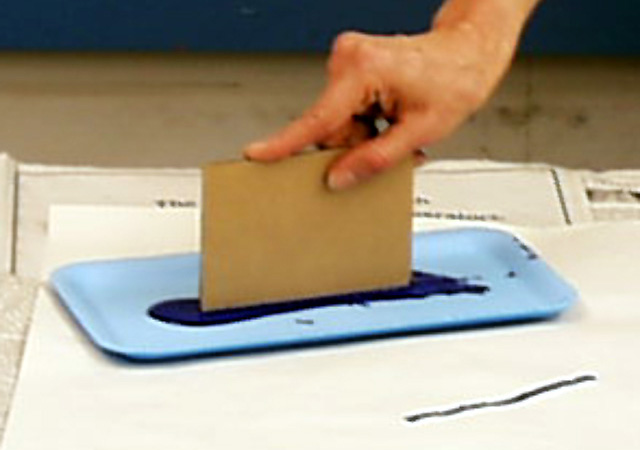
Repeat
As you introduce the process to any group, be sure to also show them what to do with their line tools when they need to stop! A few simple guidelines helps keep hands, prints, and work surfaces clean.
Guidelines:
Curved line tools are useful for more advanced work – letters, names, and the alphabet, signs and posters, machines, architecture, skeletons and composition.
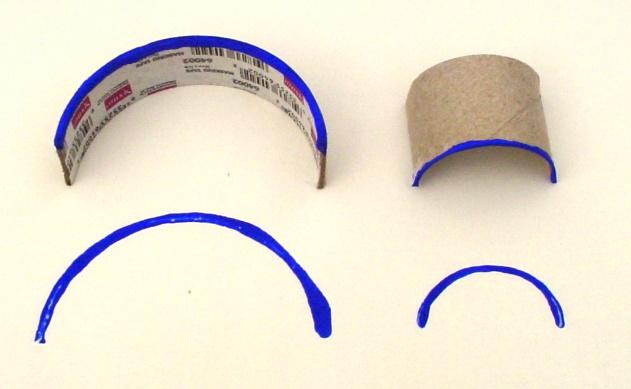
To Make Curved Line Stamps:
To Print a Curved Line:
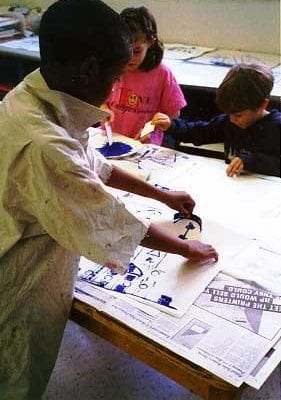
Jon, age 7, demonstrates printing a curve.
Consider letting line tools dry and reusing them. Straight line tools will probably need the worn, painted side cut off. Half circles can be used again and again, especially if the paint is the same color.
Liquid tempera paint is used for all the lessons in this website. Regular grade tempera paint (not washable, which has filler in it) works best since it has more color pigment.
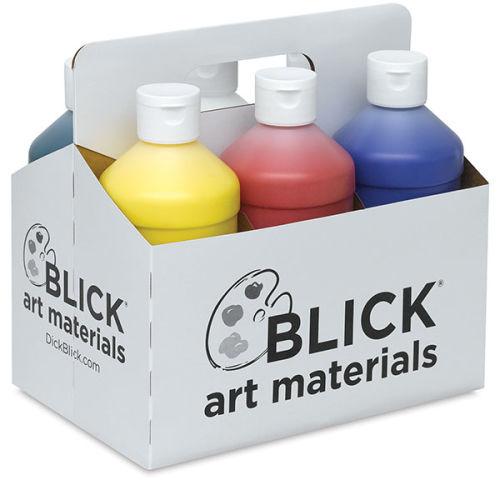
If you are working with a whole school, you probably order large bottles of tempera paint. But, pint-sized bottles of tempera paint with squeeze tops make paint distribution go quickly and easily. It makes sense to get a “6 pack of pints” and refill them as needed. The 6 pack contains the primary colors – red, yellow, blue – plus black, white and green.
As you squeeze a line of paint out on a tray, be sure to try printing a few lines yourself before distributing trays of paint to students. If the paint seems too thick, you can add a little water and mix.
Small found objects that print clear lines and shapes are exciting and suggestive to have on hand to add to linear constructions. Be on the lookout for small bottle caps, spools, pencil grips, and other objects that hold potential for printing.
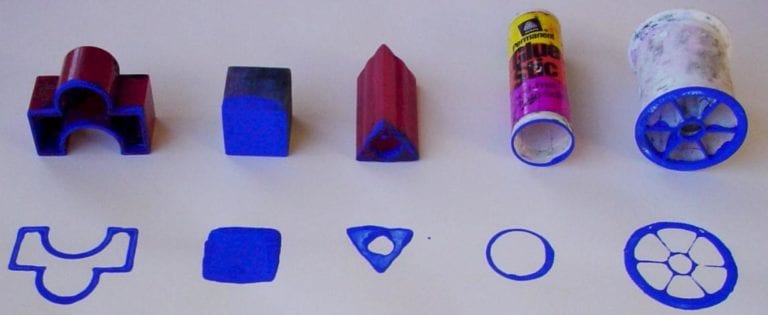
When limited to exploring one object at a time, students figure out how to use an object in different ways.
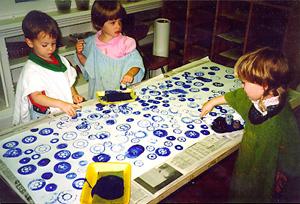
It is helpful to have students explore found objects before adding them to prints. Here a table of three-year-old children explore objects that print different kinds of circles. Exploring just circular forms offers an opportunity to observe and describe subtle differences.
*Warning! Don’t be too quick to add found objects! Once objects are added, it is difficult to return to the more difficult intellectual and physical work of linear construction.
Watch a second-grader add a found object print to a pattern design. Notice that the found object was offered only after the linear pattern design had been developed.
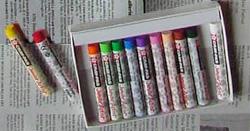
Once prints have dried, I have found that children enjoy revisiting their work by adding color to small areas with oil pastels. Crayons and colored pencils also work, but oil pastels are more vibrant and actually look like paint. When other areas are painted, it is difficult to tell the difference.
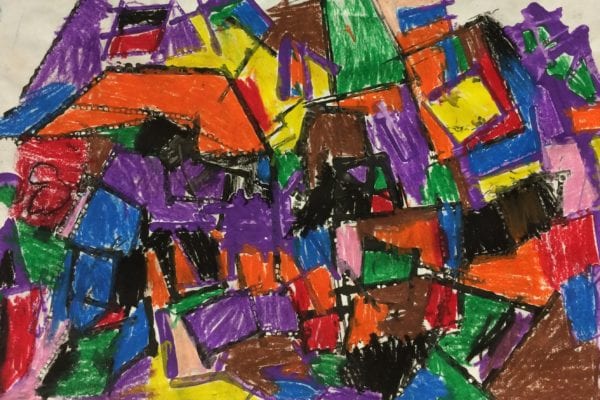
This kindergartener loved using oil pastels to color in his first line printing exploration.
Placing a section of newspaper under the print makes coloring so much easier. Realize that coloring takes time and does require a little muscle work. Some children will spend a great deal of time coloring, whereas others tire quickly and are happy with a few bright spots of added color. Be sure to suggest repeating each color to unify the composition.
Dried tempera cakes are easy to pull out and use to add color.
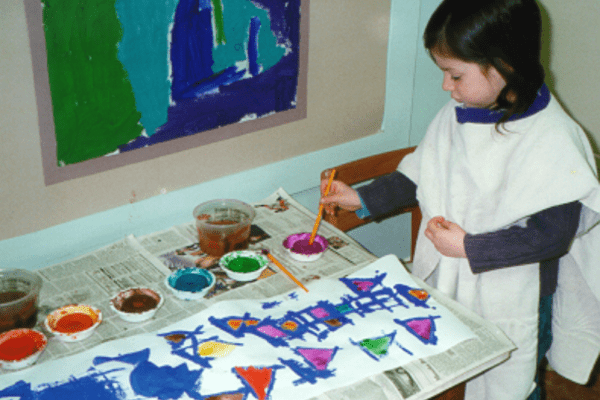
Emma, age 4, adds paint to a group printing exploration.
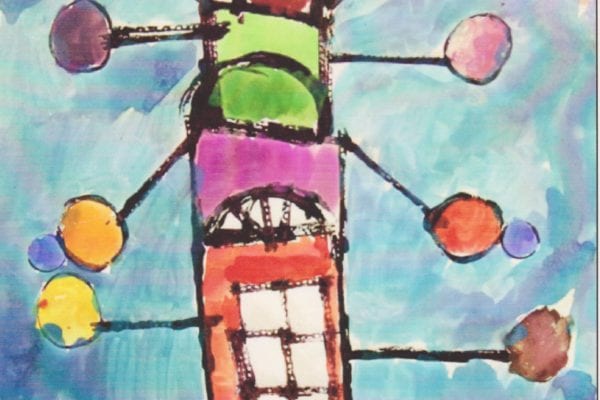
Watercolor or dried tempera cakes were used to paint this Imaginary Building.
![]()
When one brush stays with each paint color, colors stay purer and water is not necessary. Consider having jars of paint available for use – at least one jar per student. Mix a variety of unusual colors such a blue-violent, red-orange, yellow-green, and light blue. You might enlist a few students to prepare jars of paint for the class.
Exploring color mixing is a great way to fill prints with beautiful colors! Teachers should distribute the three primaries as needed – BUT NOT ALL AT ONCE! After much trial and error, I have learned to give out trays with just yellow paint to begin. Teachers, hold onto those squeeze bottles and be in charge of squeezing out the next primary when students are ready. And don’t squeeze out too much at a time or you will have a lot of wasted paint!
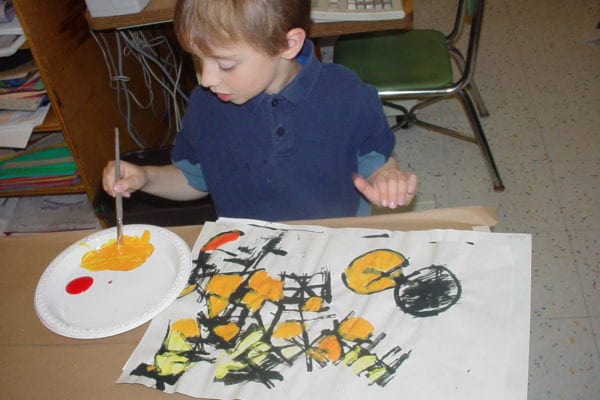
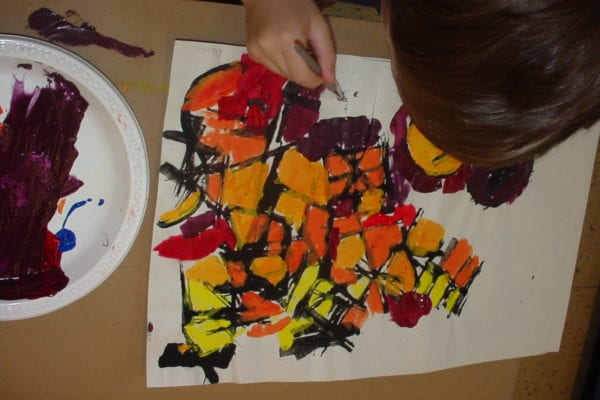
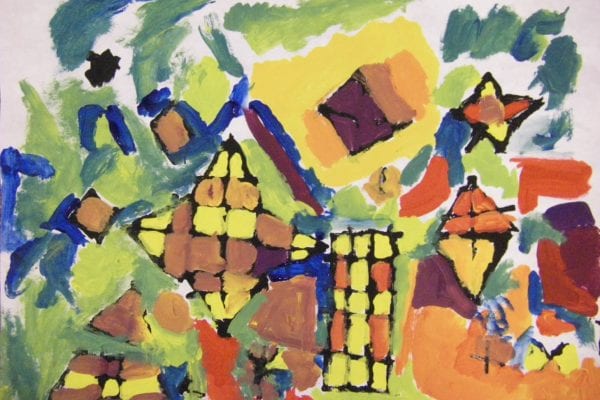
*Painting each color in three places is a way of saving a record of all the color mixtures, as well as a way to unify one’s composition. Children tend to get caught up in the excitement of mixing colors, so the “paint each mixture more than once” is an important guideline!
Watch a teacher give instructions for painting line prints.