A pattern is formed when an element is repeated many times in the same way. Line printing is an easy way to practice making patterns and to gain a concrete understanding of how to create and change a pattern. Young children seem to have a natural inclination to create order and beauty. They also enjoy learning about and experimenting with formal ways of creating patterns and other kinds of design formations.
Patterns
When creating patterns children develop and practice:
- working within a set of rules
- systematic approaches to building a pattern.
- using mathematical variables such as number, grouping, direction, alternation, position, and length
- analytical thinking skills
- hand orientation, placement, planning, and spatial skills
pattern
repeat
alternate
horizontal
vertical
diagonal
spacing
placement
number
Materials
- Large line tools- one per student, a few in reserve
- Small line tools – one per student (in reserve)
- 12 x 18” (30 x 46 cm) or 18 x 24” (46 x 61 cm) paper
- One color of tempera paint in a squeeze bottle to start, a second color of paint and more trays in reserve.
- Trays or small coated paper plates
- Found objects, one per child (in reserve, if needed)
Setup
- Cover tables with newspaper if desired
- Place large paper at each student’s place
- Place large line tool at each place
- Have trays of paint in reserve until after children have time to practice printing a pattern with their large line tool
- *When distributing paint, you may wish to give ½ the class one color and the other ½ the second color, then switch the tools and trays halfway through
Ask, What is a pattern?
Listen for multiple answers. A pattern is created when a line or shape or color (or sound) is repeated many times in the same way.
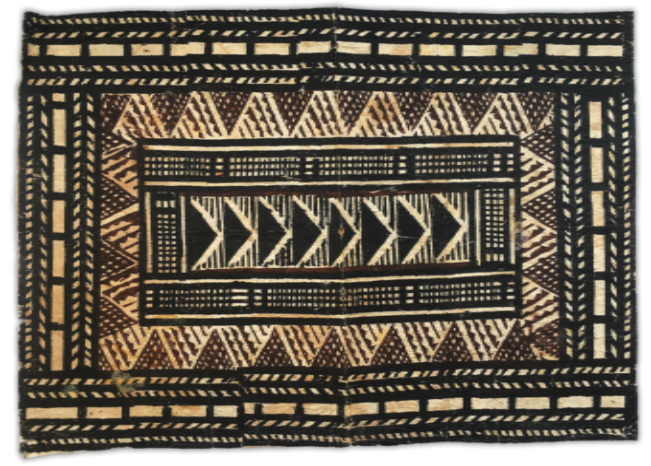
Look for patterns in both the natural and built environment. Look at clothing, fabric, objects. Where do you see a pattern? Identify elements that repeat. Point out specific lines that repeat.

This cloth was woven on a back-strap loom by Margarita Lopez y Lopez from San Antonio Aguas Calientes, Guatamala.
Patterns are everywhere – especially in the exquisite textiles and ceramics of each culture. To explore pattern is to have a window into the world’s rich cultural heritage.
You might try clapping a pattern.

1. Repeat your line in the same direction with the same spacing all across the page. Emphasize physical actions relevant to the lesson.
![]()
2. Change the number in a grouping.

3. Change the position. Go up and down.

4. Change the direction.

5. Alternate
![]()
6. Use a horizontal line to divide patterns.
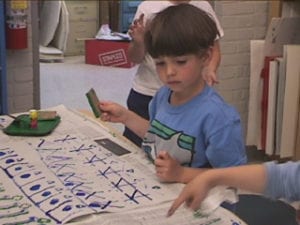
Review how to use the printing tool. Remind children to dip, press, lift and repeat. Review dipping rather than scooping the paint, pressing firmly, and lifting straight up to avoid smearing.
You can always make other objects or paint colors available, but it is difficult to take them away once you have introduced them! Expanding the number of colors or tools works after students have practiced pattern-making and have become aware of and interested in more possibilities.
Print a pattern by repeating your straight line all across your paper. Experiment with changing the position, direction, and number of lines in a grouping.
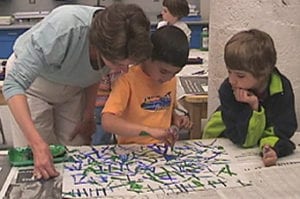
STARS!
Watch two first-graders discover that they can print stars.
To add new energy and excitement, you may like to switch trays of paint and colors.

Emiko (age 6) adds blue to her green pattern.
Give out a small line tool or a found object to add into your pattern.
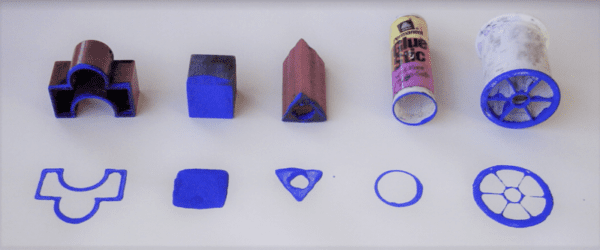
When introducing or adding any new tool, call attention to it and quickly review how to use it.
Suggest that students step back to look at their patterns from a distance to see where they have space to add smaller lines or lines of another color. Suggest working slowly and carefully since papers are very full of paint and can smear easily. If you make a mistake, make that mistake part of your pattern!
Draw your Print
Several children had completed their pattern explorations. On a whim, I passed out small papers and challenged them to draw the pattern they had just printed. I was surprised by how quickly and how carefully they were able to make this transition.
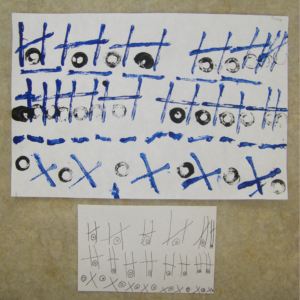
Sadie (age 6)
This experiment taught me to keep small papers and drawing tools handy!

Each table in this first grade art class began with one color and then switched trays and stamps three times.
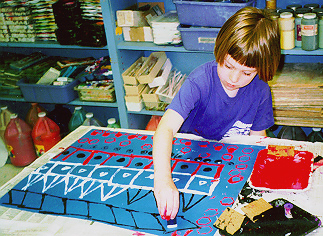

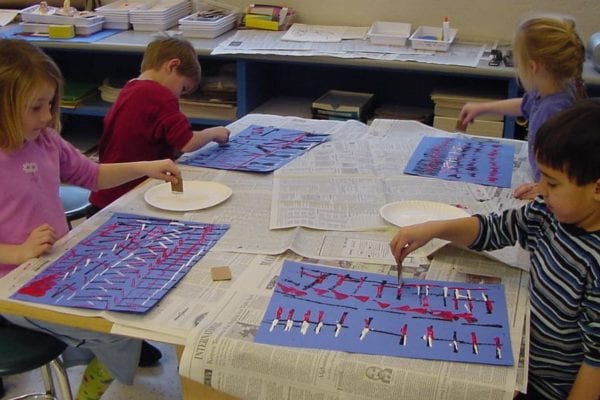
Before deciding on colors of paint and papers, try out the paint colors against the paper color to see if there is enough contrast.
Book Covers
To create patterns for book covers, second-graders in Bob Hepner’s art class printed patterns on black paper using only the small line stamp and white paint. After the paint dried, they used oil pastels to color in some of the shapes they had created.


