Line printing is an easy and effective way to create bold and clear signs and posters. It is also a great way to practice the many skills and concepts involved in letter formation and writing.

Line printing is an easy and effective way to create bold and clear signs and posters. It is also a great way to practice the many skills and concepts involved in letter formation and writing.
When designing and creating signs or posters, students practice and explore:
sign
poster
advertise
communicate
persuade
message
edit
symbol
graphic
Materials

Let’s take a look at some well-known signs. How can you tell if a sign or poster is effective?


During the Covid-19 pandemic when everyone was home, I worked with my grandchildren and teachers who live nearby. I asked them to think of a message before coming to print.
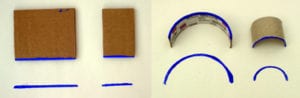
In my driveway I set up collapsed boxes as large work surfaces. I taped newspaper and sheets of large paper to the cardboard with masking tape to keep it from blowing away in the wind. It worked really well.
When everyone arrived we brainstormed more messages before deciding what to print;
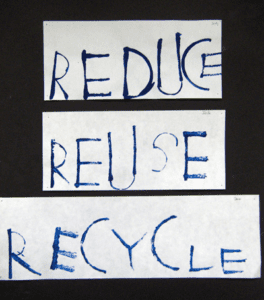
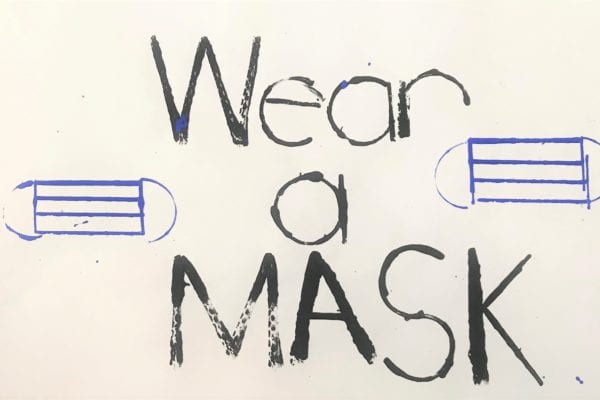
Black Lives Matter, #BLM, Las Vidas Negras Importan, Wear a Mask, Masks are Cool, Be Happy with What You Have, Keep Trying – Don’t Stop, Think of Your Karma, Don’t Waste, Don’t Waste Water…

Following a discussion of effective signs and posters, challenge students to act as designers to advertise an area of the classroom or a special event, or to create a sign for a message that they want to communicate. Brainstorm words to use to get the message across. This is a good exercise to do as a class or in small groups.
Think about reviewing the printing process and the line tools by breaking down or deconstructing an interesting or difficult word into its basic lines. Review techniques for printing letters.
*Review the Letters and Names lesson.
Discussing signs and posters, thinking about a message you wish to communicate, trying to convey the message in a few carefully chosen words, and planning a layout takes time! Printing could come later or on another day.

Planning a sign or poster requires time and space for concentration and problem-solving. It usually takes practice working with the space allotted and the printing tools, without ink, to figure out and adjust the position, placement, and spacing of letters and words.
Practice constructing and spacing the letters (no ink) until you work out a pleasing and effective arrangement. A few minutes (and this is usually very fast!) practicing without ink saves a great deal of time, countless mistakes, and a lot of paper!
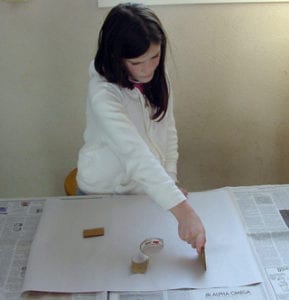
Olivia, age 8, planning the placement and spacing of her letters and words.
Practice printing on newsprint or practice paper.
Printing often takes up more time and space than anticipated!

Olivia holding her finished poster.
Offer another color for decorations and embellishments.
*In order to keep the focus on the message, the lettering and the layout, offer the second color only after the corrected printing of the words is complete. Add a second color and possibly a graphic.
*To facilitate planning and practicing, keep paint off of the table until you have seen children practice constructing and spacing letters and words.
*Taking time to think and plan before beginning a task is a lifelong learning skill.

Practice printing on newsprint or practice paper.
Then, take a critical look at your work with a friend. Figure out how to improve. Print again.
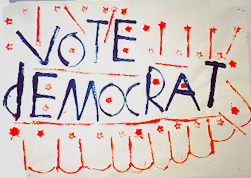
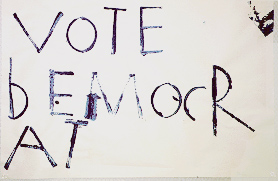
Here you see a third-grader correcting the spacing and the reversal of the letter “d” on his election poster.
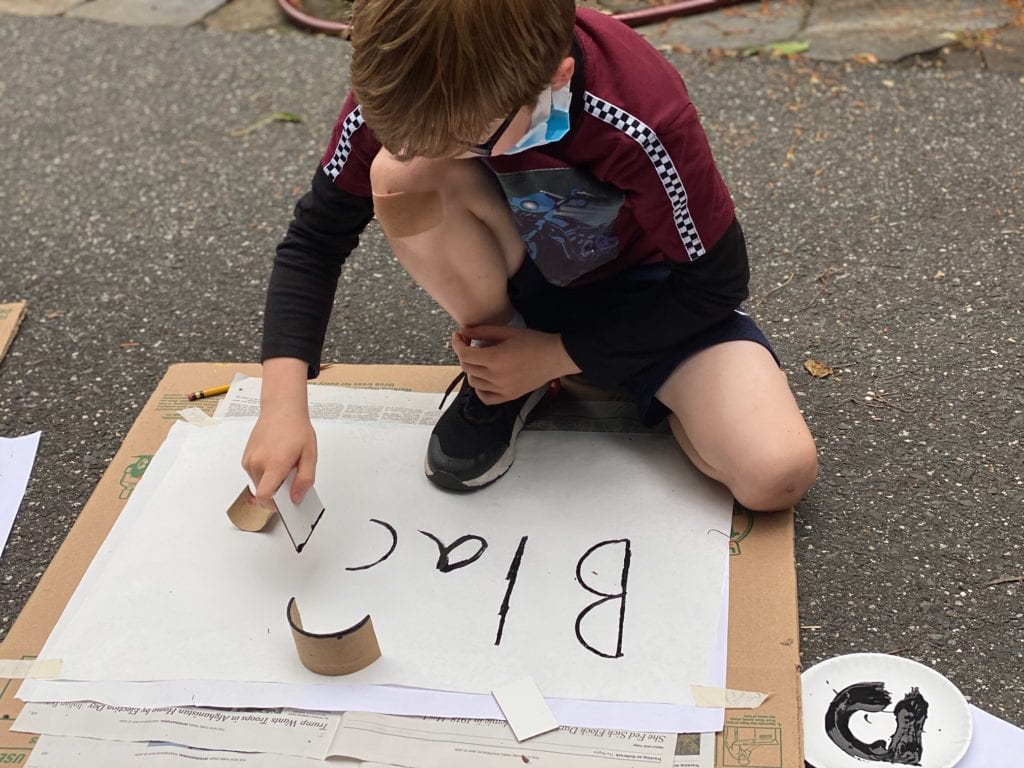
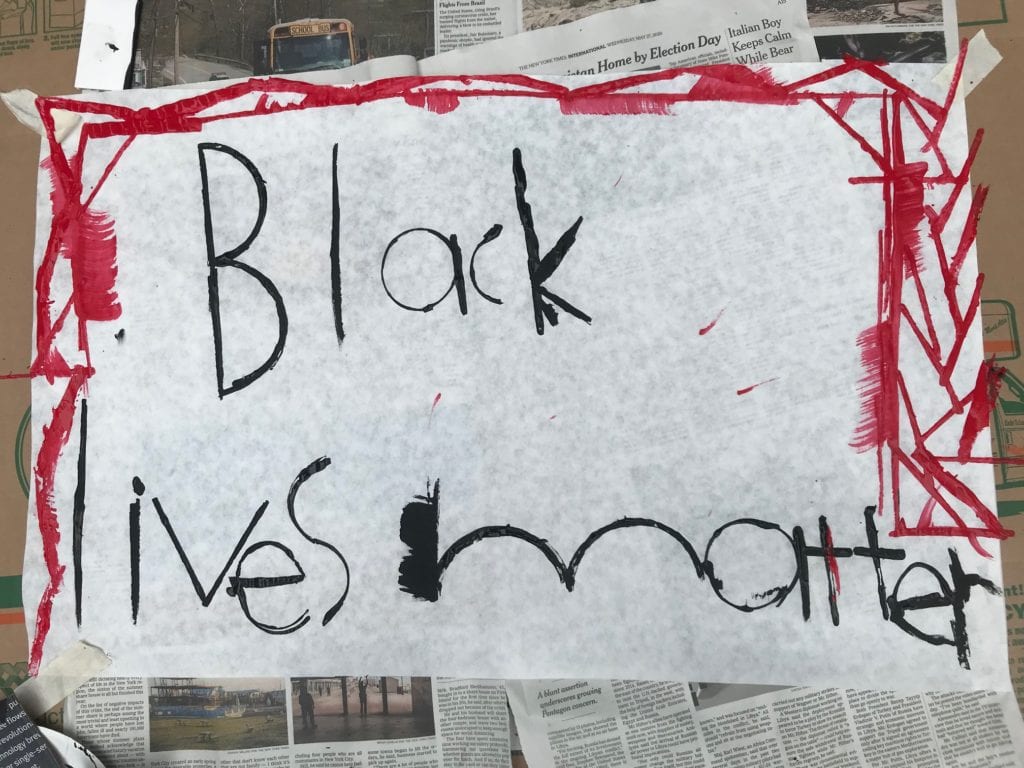
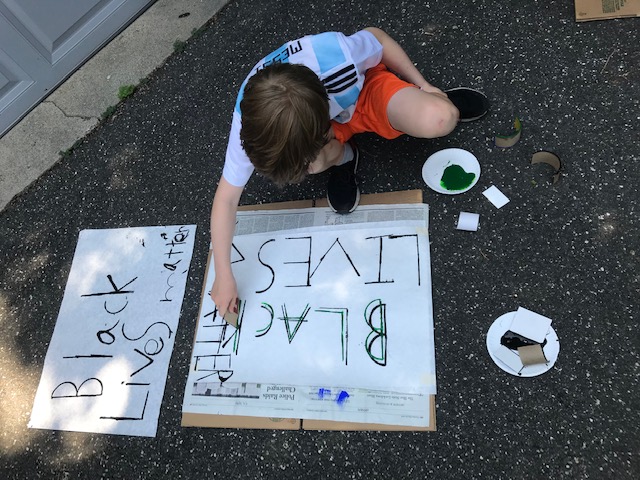
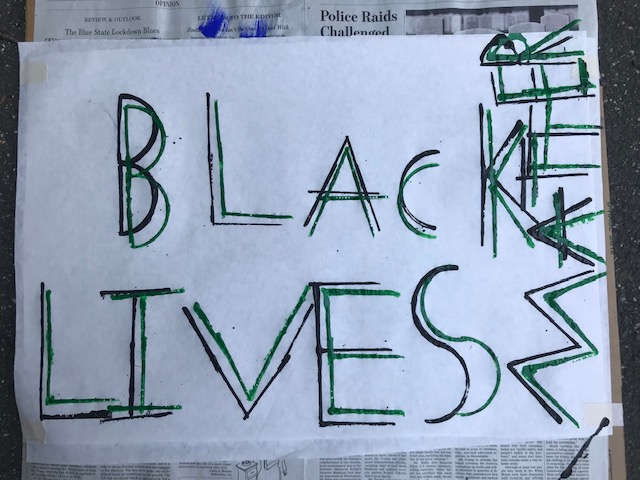
Zachary, age 8 practices and prints several versions of Black Lives Matter
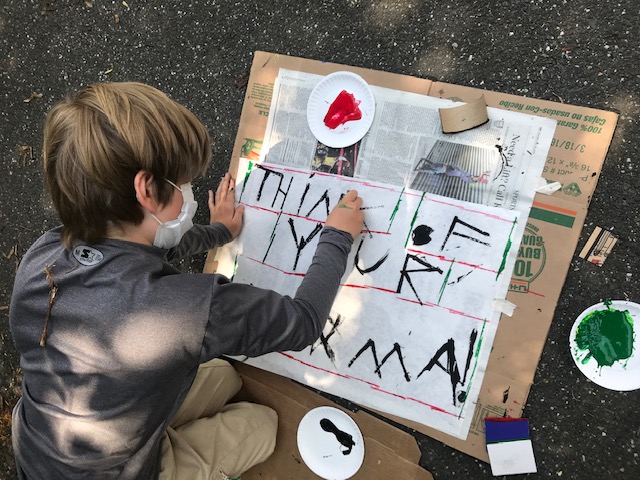
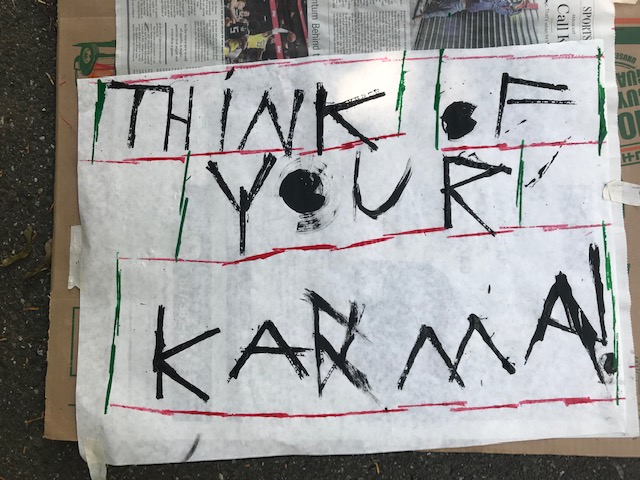
Jacob, age 9 has a difficult time deciding what he wants to print, and finally decides to print, Think of Your Karma
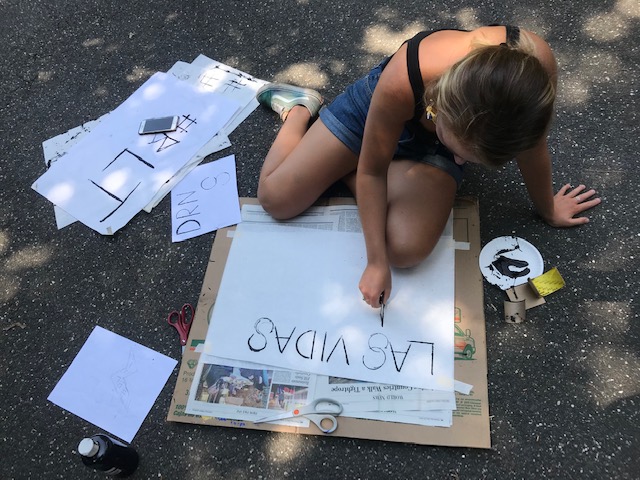
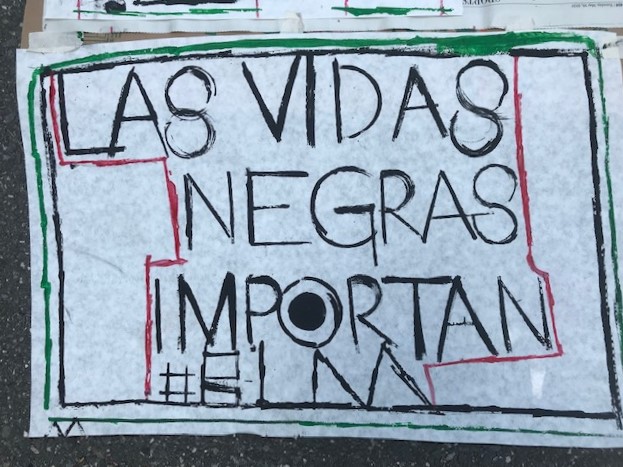
A Spanish teacher prints, Las Vidas Negras Importan
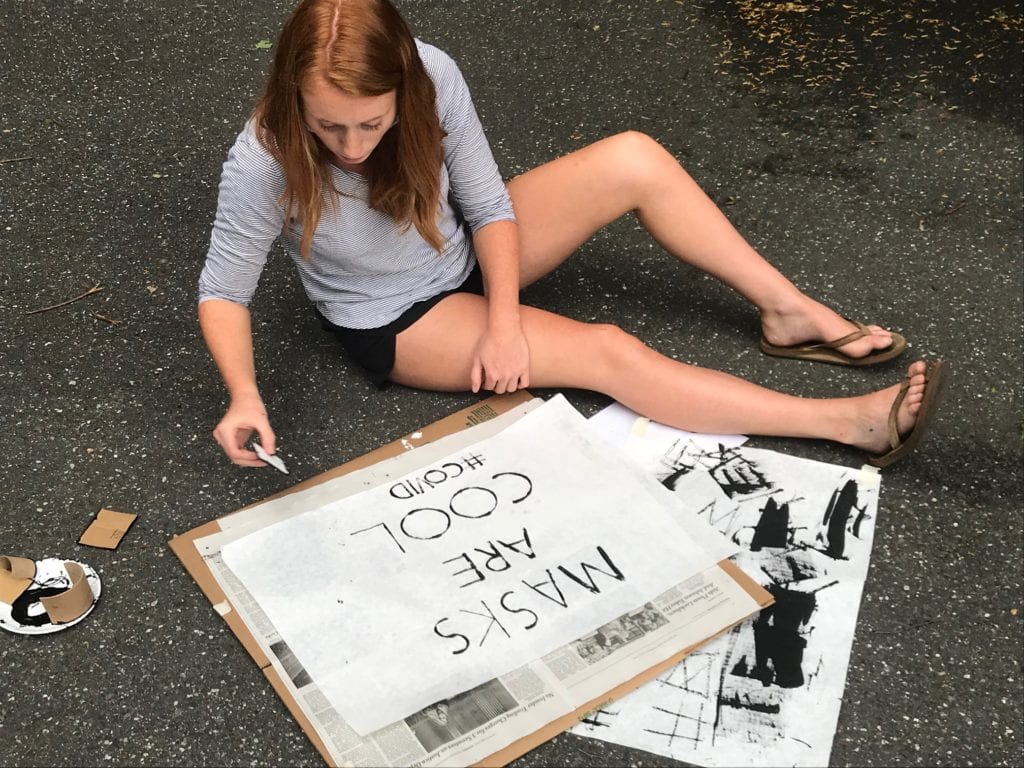
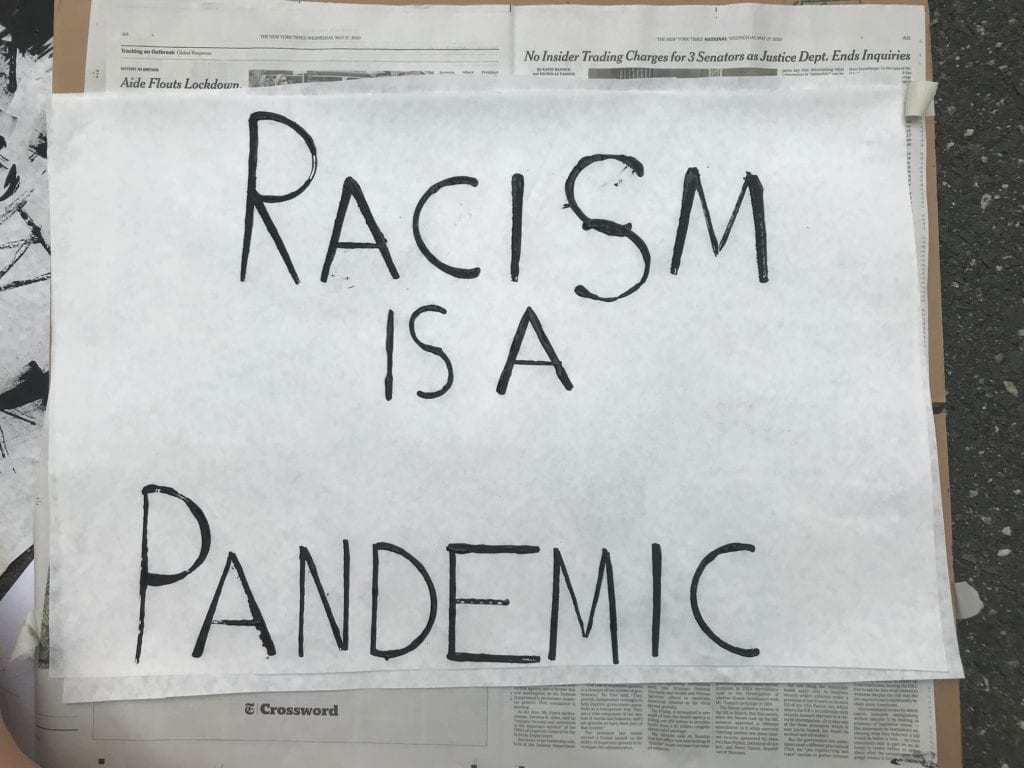
A science teacher prints Masks are Cool #covid-19, Racism is A Pandemic

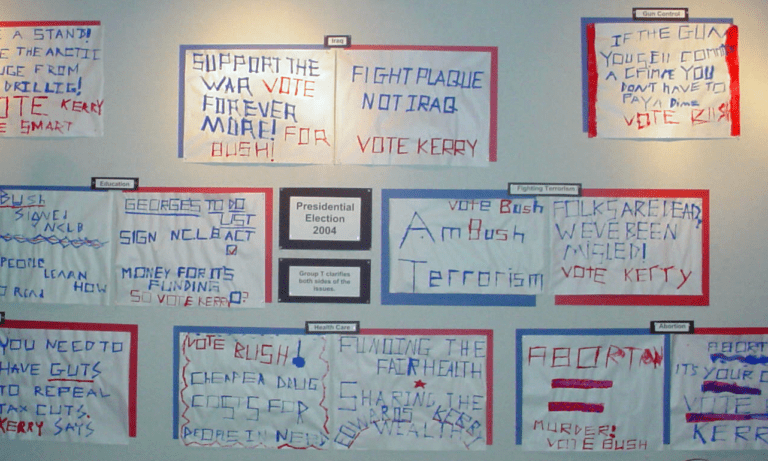
During the presidential election of 2004, 6th-grade teacher Tom Weiner asked his class to research both sides of an election issue, and to work in pairs to design a poster for each side. Students then brought their poster designs with them when they came to the art studio to print their posters. Lionel Claris, Tom’s student teacher and a graduate student in myTeaching of Visual Arts class at Smith College, guided students in printing their posters. After practicing himself, Lionel discovered that it was possible, quicker, and easier to print all the letters using only the small line tool.
Watch 6th graders printing their posters (Notice that they are using only the small straight line tool). You can see students printing some of these signs.