After playing with letter construction and perhaps printing their names, children seem to love the challenge of trying to print the whole alphabet. Review Letters and Names before teaching this lesson!
Alphabet

When printing letters of the alphabet, children develop and practice:
- letter recognition
- letter construction
- understanding differences between letters
- awareness of upper and lowercase letters
- reciting the letters of the alphabet
- analytical thinking skills
- hand orientation, proper hand pressure and grip
- spatial awareness and placement skills
- planning and thinking ahead
- printing skills
The names of all the letters in the alphabet
Materials
- Large straight line tool, one per child, extras in reserve
- Large curved line tool, one per person, extras in reserve
- Small line tool and small curved line tools to share
- Large papers – 18” x 24” (46 X 60 cm) if possible
- Dark color tempera paint in squeeze bottle for easy distribution
- Trays or small coated paper plates
- Alphabet charts that children can see. Make copies to share.
A B C D E F G H I J K L M N O P Q R S T U V W X Y Z
Setup
- Place papers, line tools and alphabet charts so that children can practice first without paint
- Trays of paint in reserve
What types of questions might teachers ask their students to begin the lesson?
You did such a great job of constructing letters and your names that I thought it would be fun to try to construct the whole alphabet. It is not going to be easy, because you have to figure out how to do each letter, and each letter is different. But, you can help one another, and I think you are up to the challenge of trying to print all the letters of the alphabet, or as many as you can!
Review Letters and Names.
How can teachers get students to visualize the material in the lesson?
I have prepared a large sheet of paper for each of you, as well as, sets of line tools, and trays of paint to share. You will have a large line tool and a small line tool, a large curve and a small curve.
Notice that the line tools are proportional. The small line is half the length of the larger line. The width of the small curve matches the width of the smaller line.
You will also have an alphabet chart to use as a reference.
A B C D E F G H I J K L M N O P Q R S T U V W X Y Z
Let’s practice constructing first with the line tools, without any paint, to get an idea of how the letters might fit on the page. This also helps us get a sense of how much space to leave between letters.
*Reminder
When you do start actually printing, remember to stand up while you work so that you can use your body to make a strong print.
Also, remember to place line tools on the edge of the tray – paint side down -when you need to stop for any reason.
Step 1
Practice using the line tools to form the letters – no paint.
Step 2
Begin printing. Print as many of the letters as you can.
Children can be very inventive about how they accomplish this task. Some children may use all capital letters. Some might use a mixture of upper and lowercase letters. It is exciting to see what develops as the children work. This is not an easy task! It may take more than one class period.

It is always rewarding to look at the spaces in and between the letters and to fill them with color.

Have some smaller papers handy for children to practice writing their own alphabet charts.
 Diego
Diego
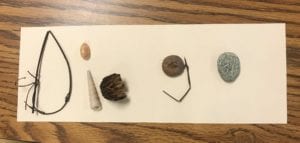
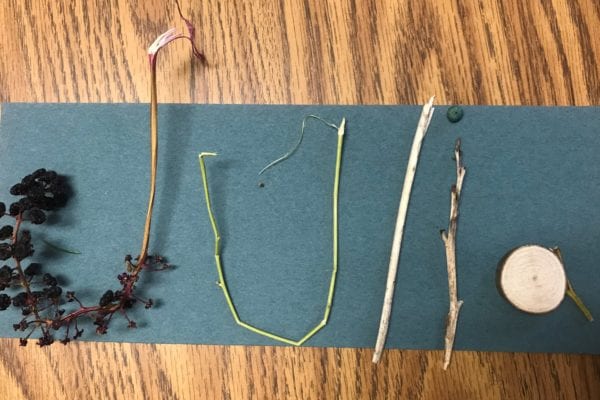
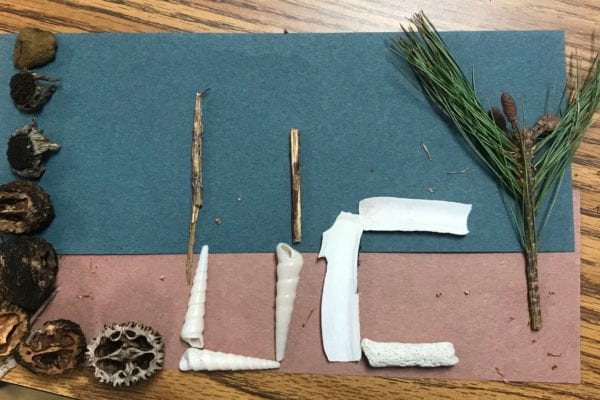
Second graders in Robbie Murphy’s class the Campus School of Smith College went on a walk looking for natural materials on the ground that might be used to form the letters of the alphabet. They experimented by forming the letters of their own names.
 Julia
Julia
 Lucy
Lucy


