Skeletons

Explore Skeletal Structure
AdvancedNature

Introduce

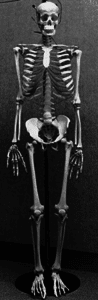
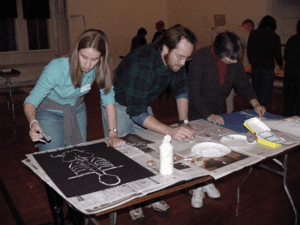
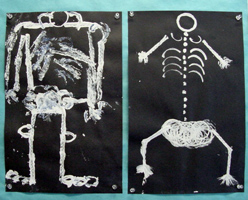
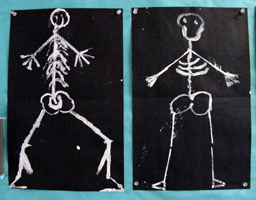
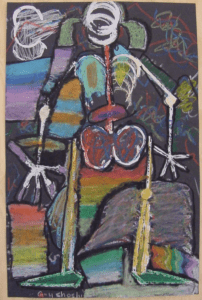
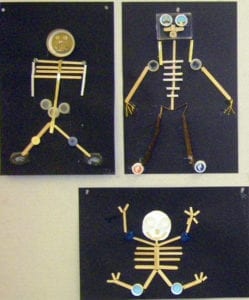
Although we may look different on the outside, on the inside we all have the same skeletal structure. The challenge of creating a skeleton causes students to take a close look at the anatomy of the human body, the relationship of one body part to another, and at the many joints throughout our bodies that allow us to move. This anatomy exploration works best when it is integrated with a science unit on the systems of the human body.

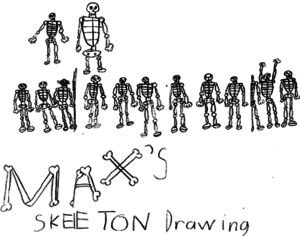
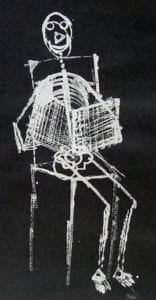
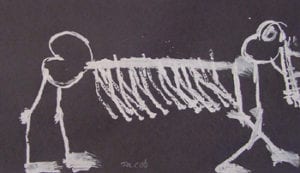
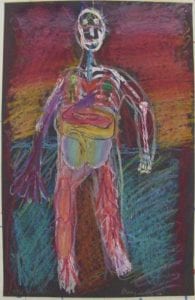
Max (age 8) drew this picture at home. He was inspired by a photo of a skeleton that he saw in a book.

Engage

Begin by asking, What do you know about the human skeleton?  Take time to listen and perhaps write a list of responses…

Also ask, What do you wonder about the skeleton? What would you like to know?  Add responses to the list.

Then share some interesting facts:

  • The skeleton is symmetrical.
  • There are 206 bones in the human skeleton.
  • There are 27 bones in each hand and 26 bones in each foot. So, more than half of the bones in the human body are in the hands and feet!
  • Anywhere the body bends or moves, there is a joint.

Explore

To prepare, review the three-line tools and the printing process.

Brainstorm strategies for beginning to construct a skeleton. This helps students focus and consider different ways to meet this challenge. Sample discussion questions:

  • What part of the skeleton will you print first? Why?
  • What printing tool will you use for the spine? The ribs? The shoulders? The joints? The pelvis?

As you begin to print each part of the skeleton you will have to figure out how to do it, what will work. This is not easy! It is going to take some trial and error. I hope that you will help one another figure out ways to solve these problems…

Beginning with the Skull

Marguerite, age 10, begins with the skull.

Create

Share & Reflect

Variations & Extensions

Menu